Zapier integration is one of the most advanced features of Octopus CRM LinkedIn automation software that allows pushing users’ data to Google Sheets, Hubspot, Zoho CRM, and other software every time you send an automated message, auto view a profile or auto endorse a skill using Octopus CRM.
The problem is you’ll need to have a paid account with Zapier as well. And since Zapier charges users for each data transfer, it might become quite costly for you to use this feature.
To help you optimize your Zapier expenses and reduce costs (up to 10x), we’ve implemented a feature that allows you to transfer data from Octopus CRM to Zapier in batches (up to 10 profiles / batch).
Here is an example. Let’s assume you would like to send users’ data (name, email address, phone number, company, title) to Google Sheets every time you message your 1st level connections.
Here is how it works now:
- You set your Zapier integration up in Octopus CRM;
- You launch your messaging campaign and Octopus CRM starts sending automated messages;
- After the message is sent, Octopus CRM scrapes the user’s data and immediately forwards it to Google Sheet;
- Zapier charges you for this transfer.
And here is how it works with Zapier Batch:
- You set your Zapier integration up in Octopus CRM and input a number (from 1 to 10) in the Zapier Batch field. Let’s say we enter 10;
- You launch your messaging campaign and Octopus CRM starts sending automated messages;
- Octopus CRM waits till 10 profiles are messaged, scrapes their data and forward it to Google Sheet in a batch;
- Zapier charges you for this transfer.
So, instead of sending data every single time you make an action in Octopus CRM, the software will sort this data in batches and send it over then. In such a simple way, you’ll be able to dramatically reduce your Zapier expenses.
Important! Using Zapier Batch will require to set up an additional step in Zapier settings. Here is a step-by-step guide on how Zapier integration works with Zapier Batch.
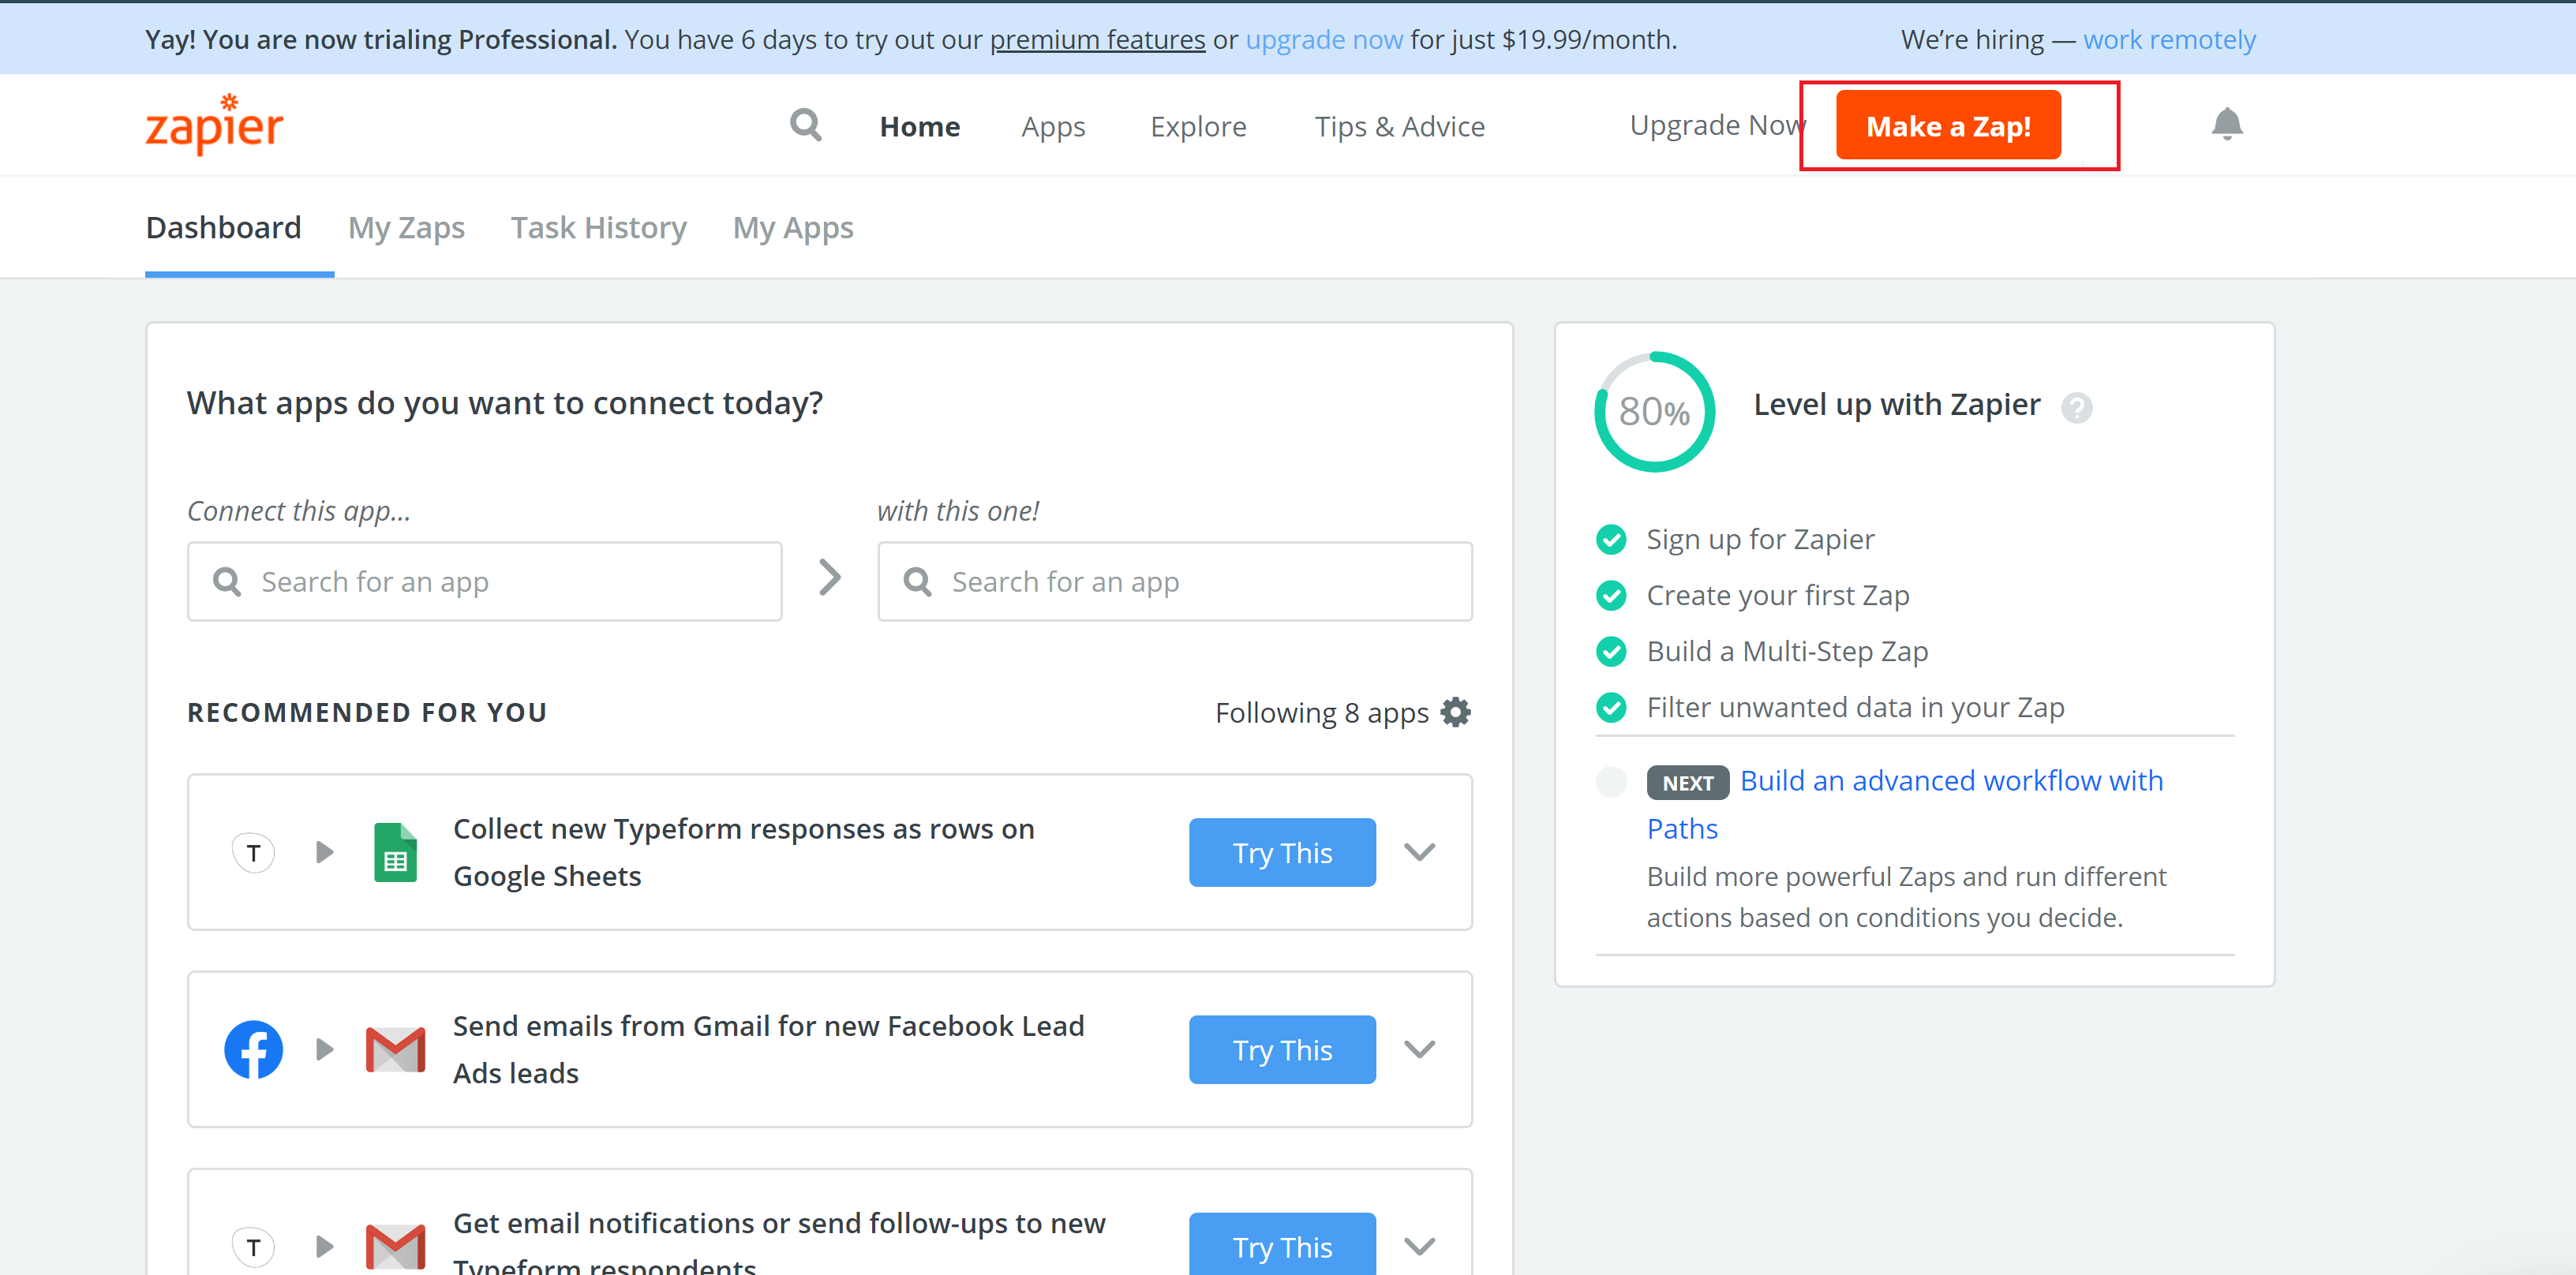
1. Log into your account at https://zapier.com/ and press “Make a Zap”
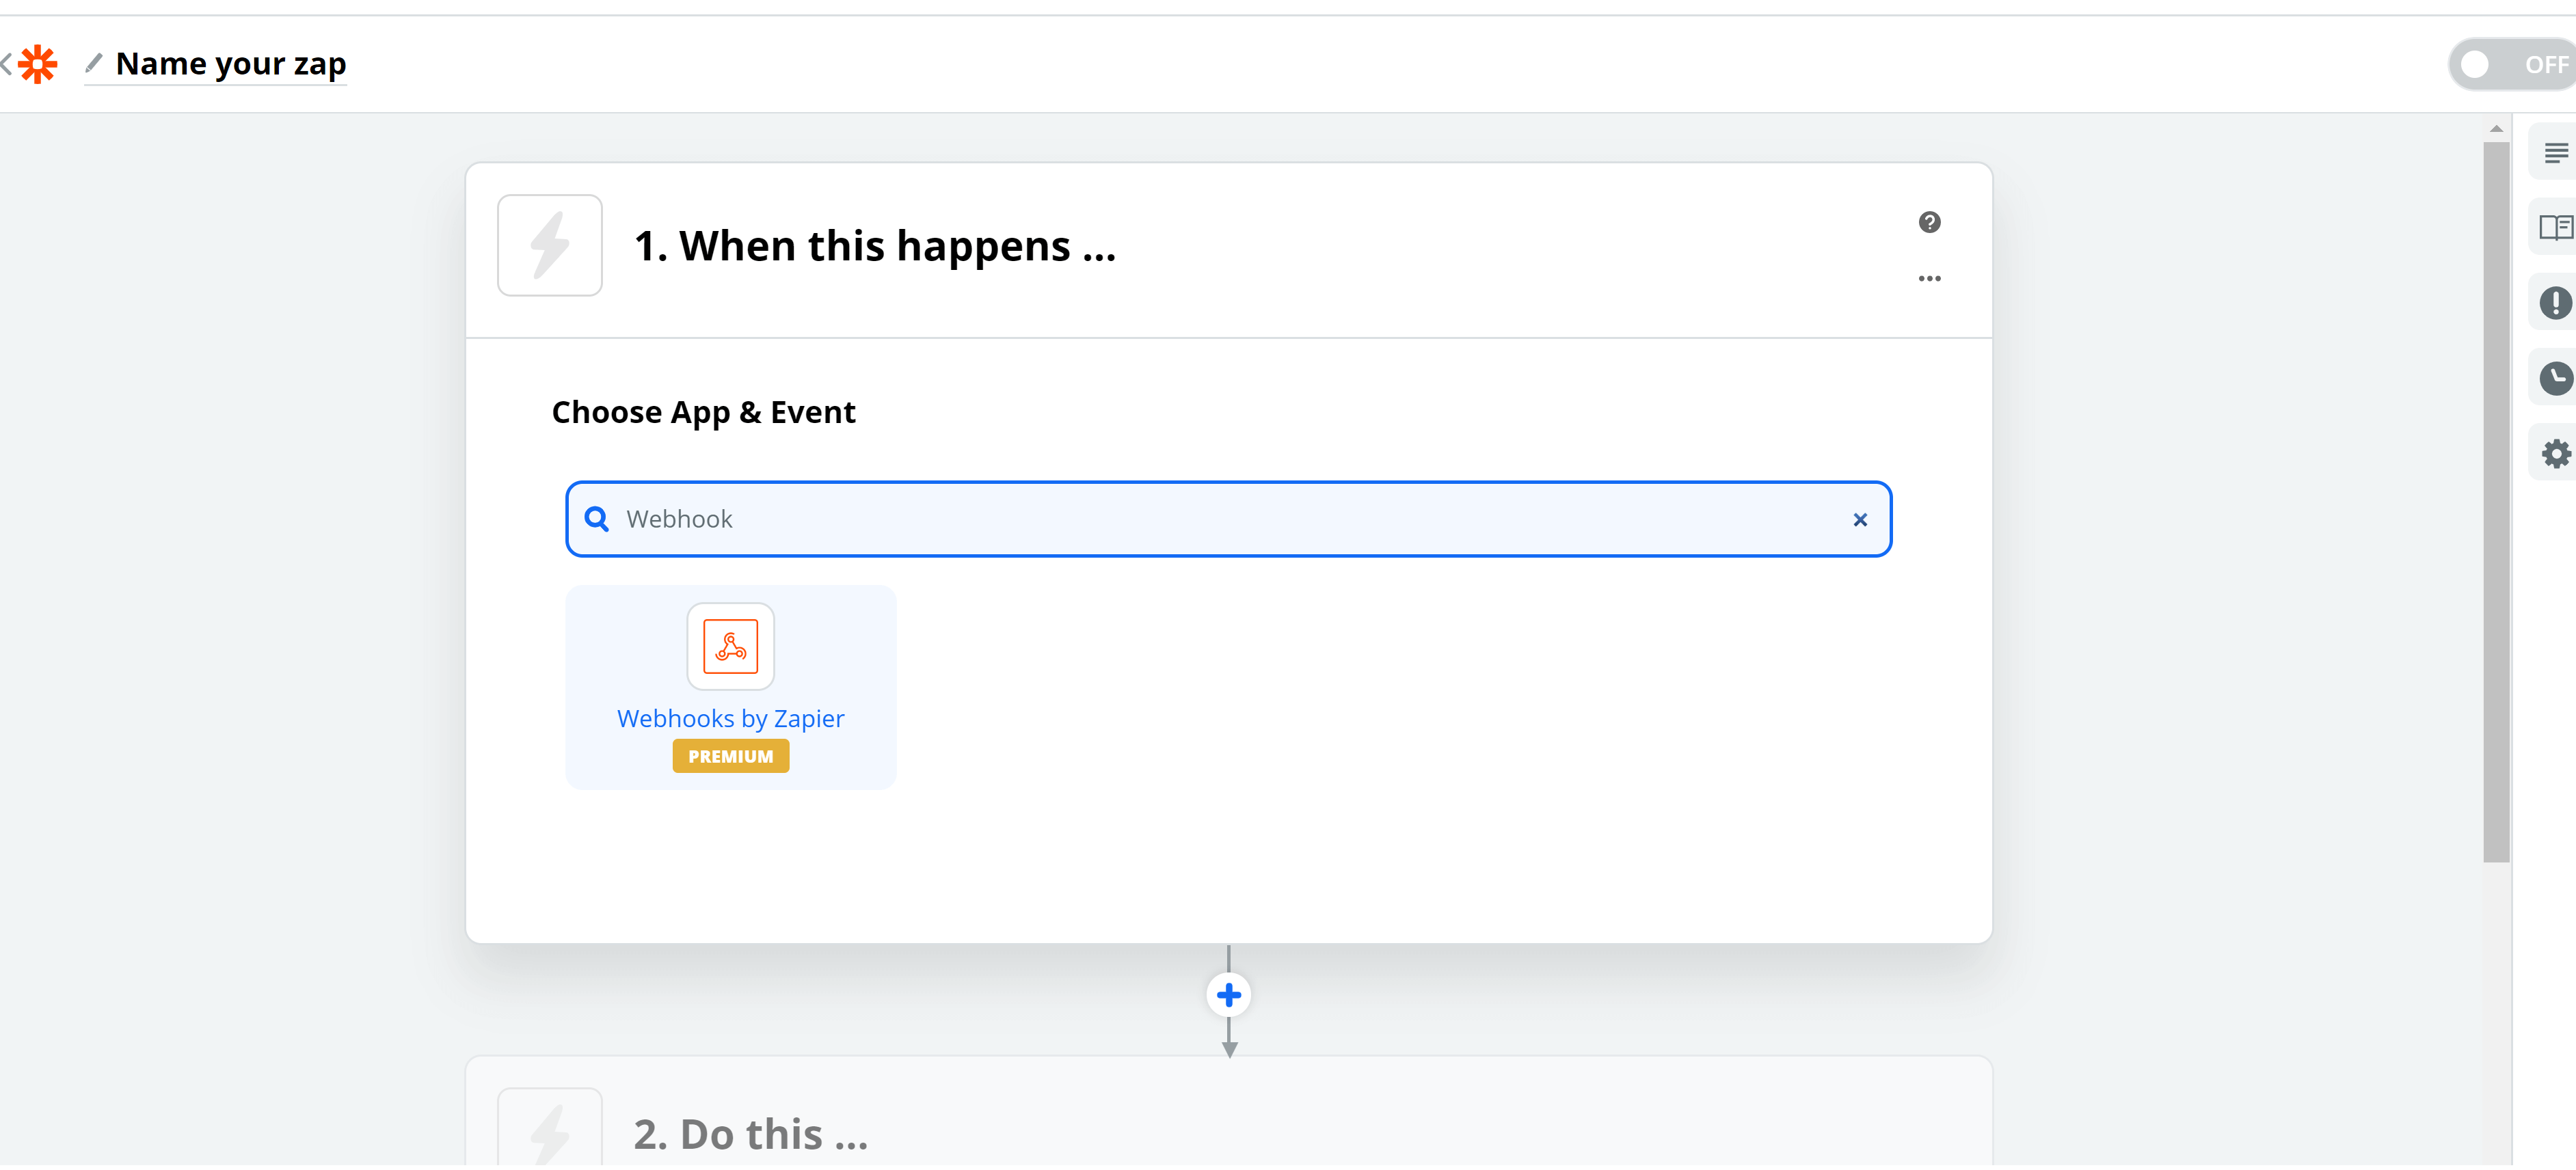
2. In Step 1, type in and choose “Webhooks by Zapier”
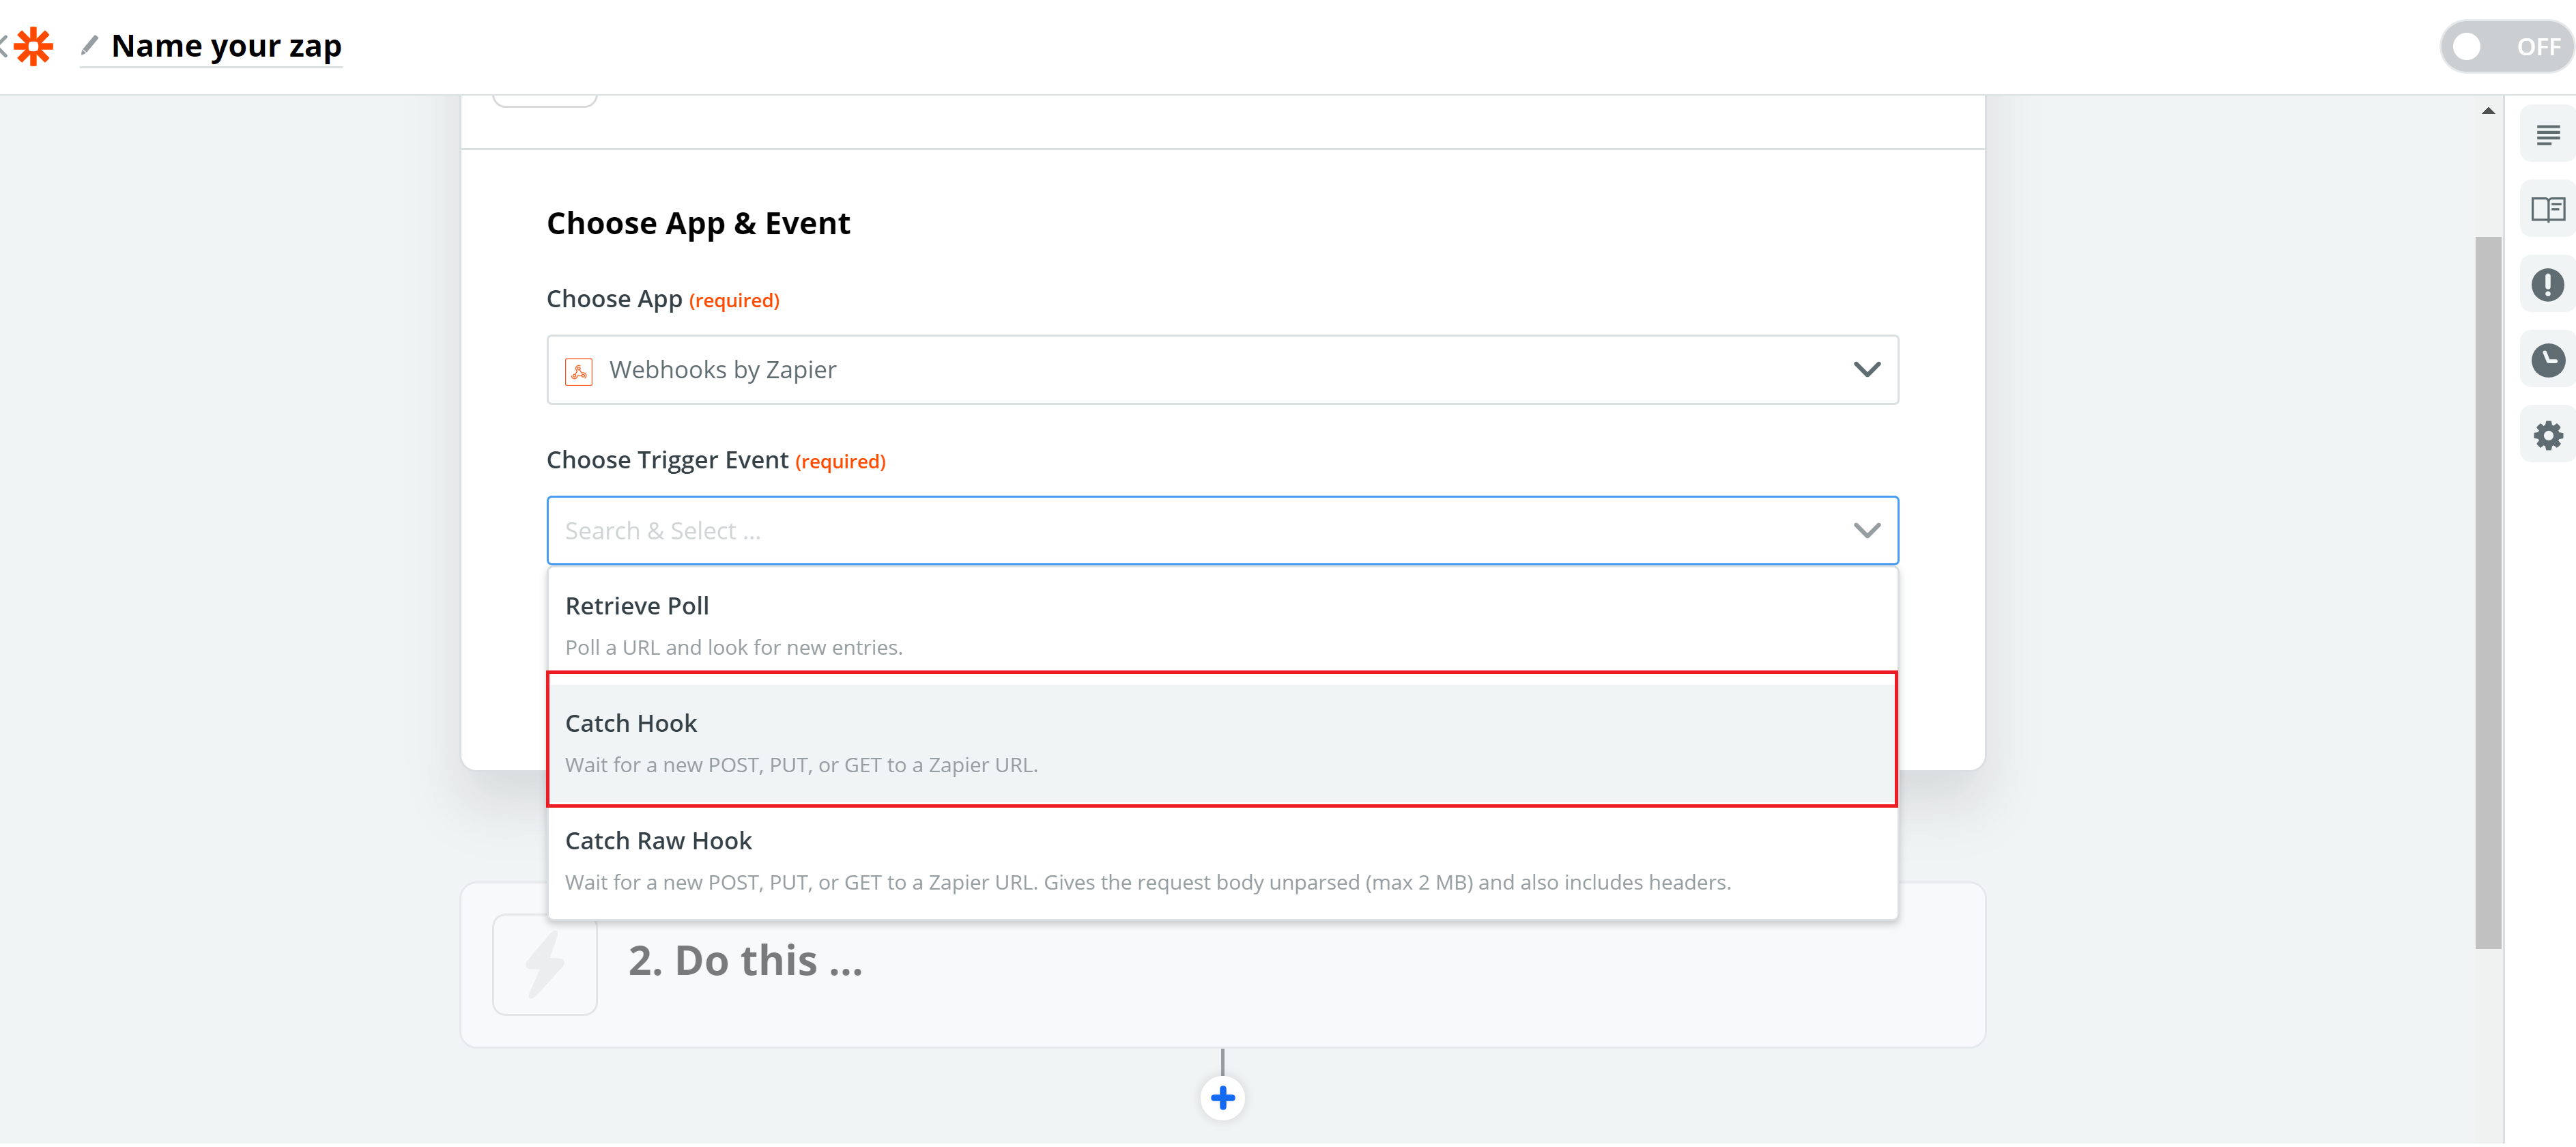
3. Select “Catch a Hook” as a trigger event and press Continue
4. Now copy your Custom Webhook URL:
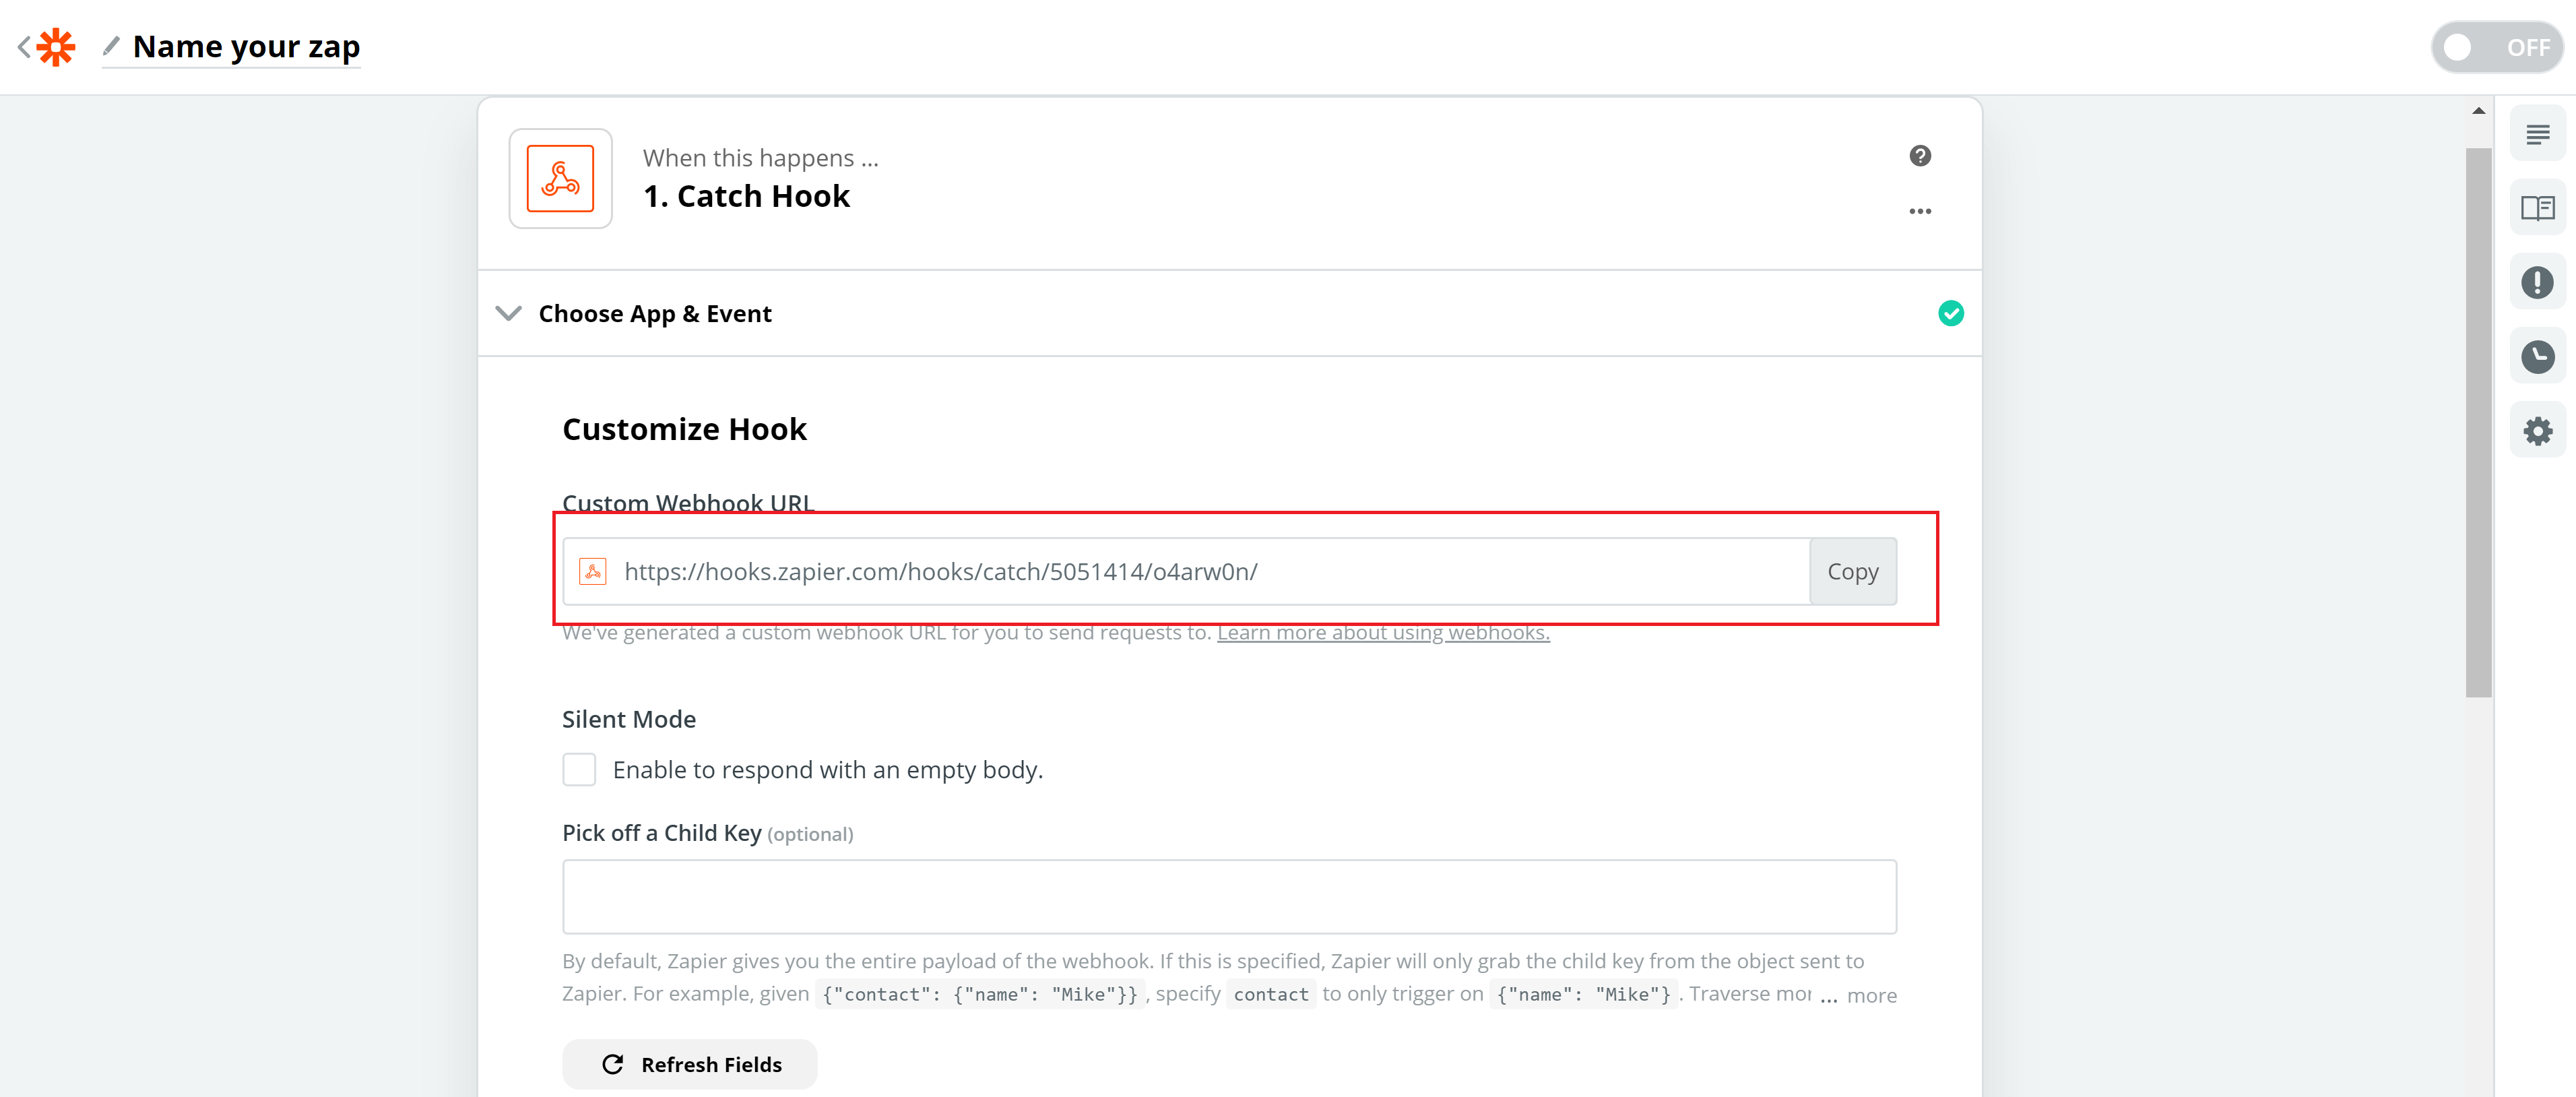
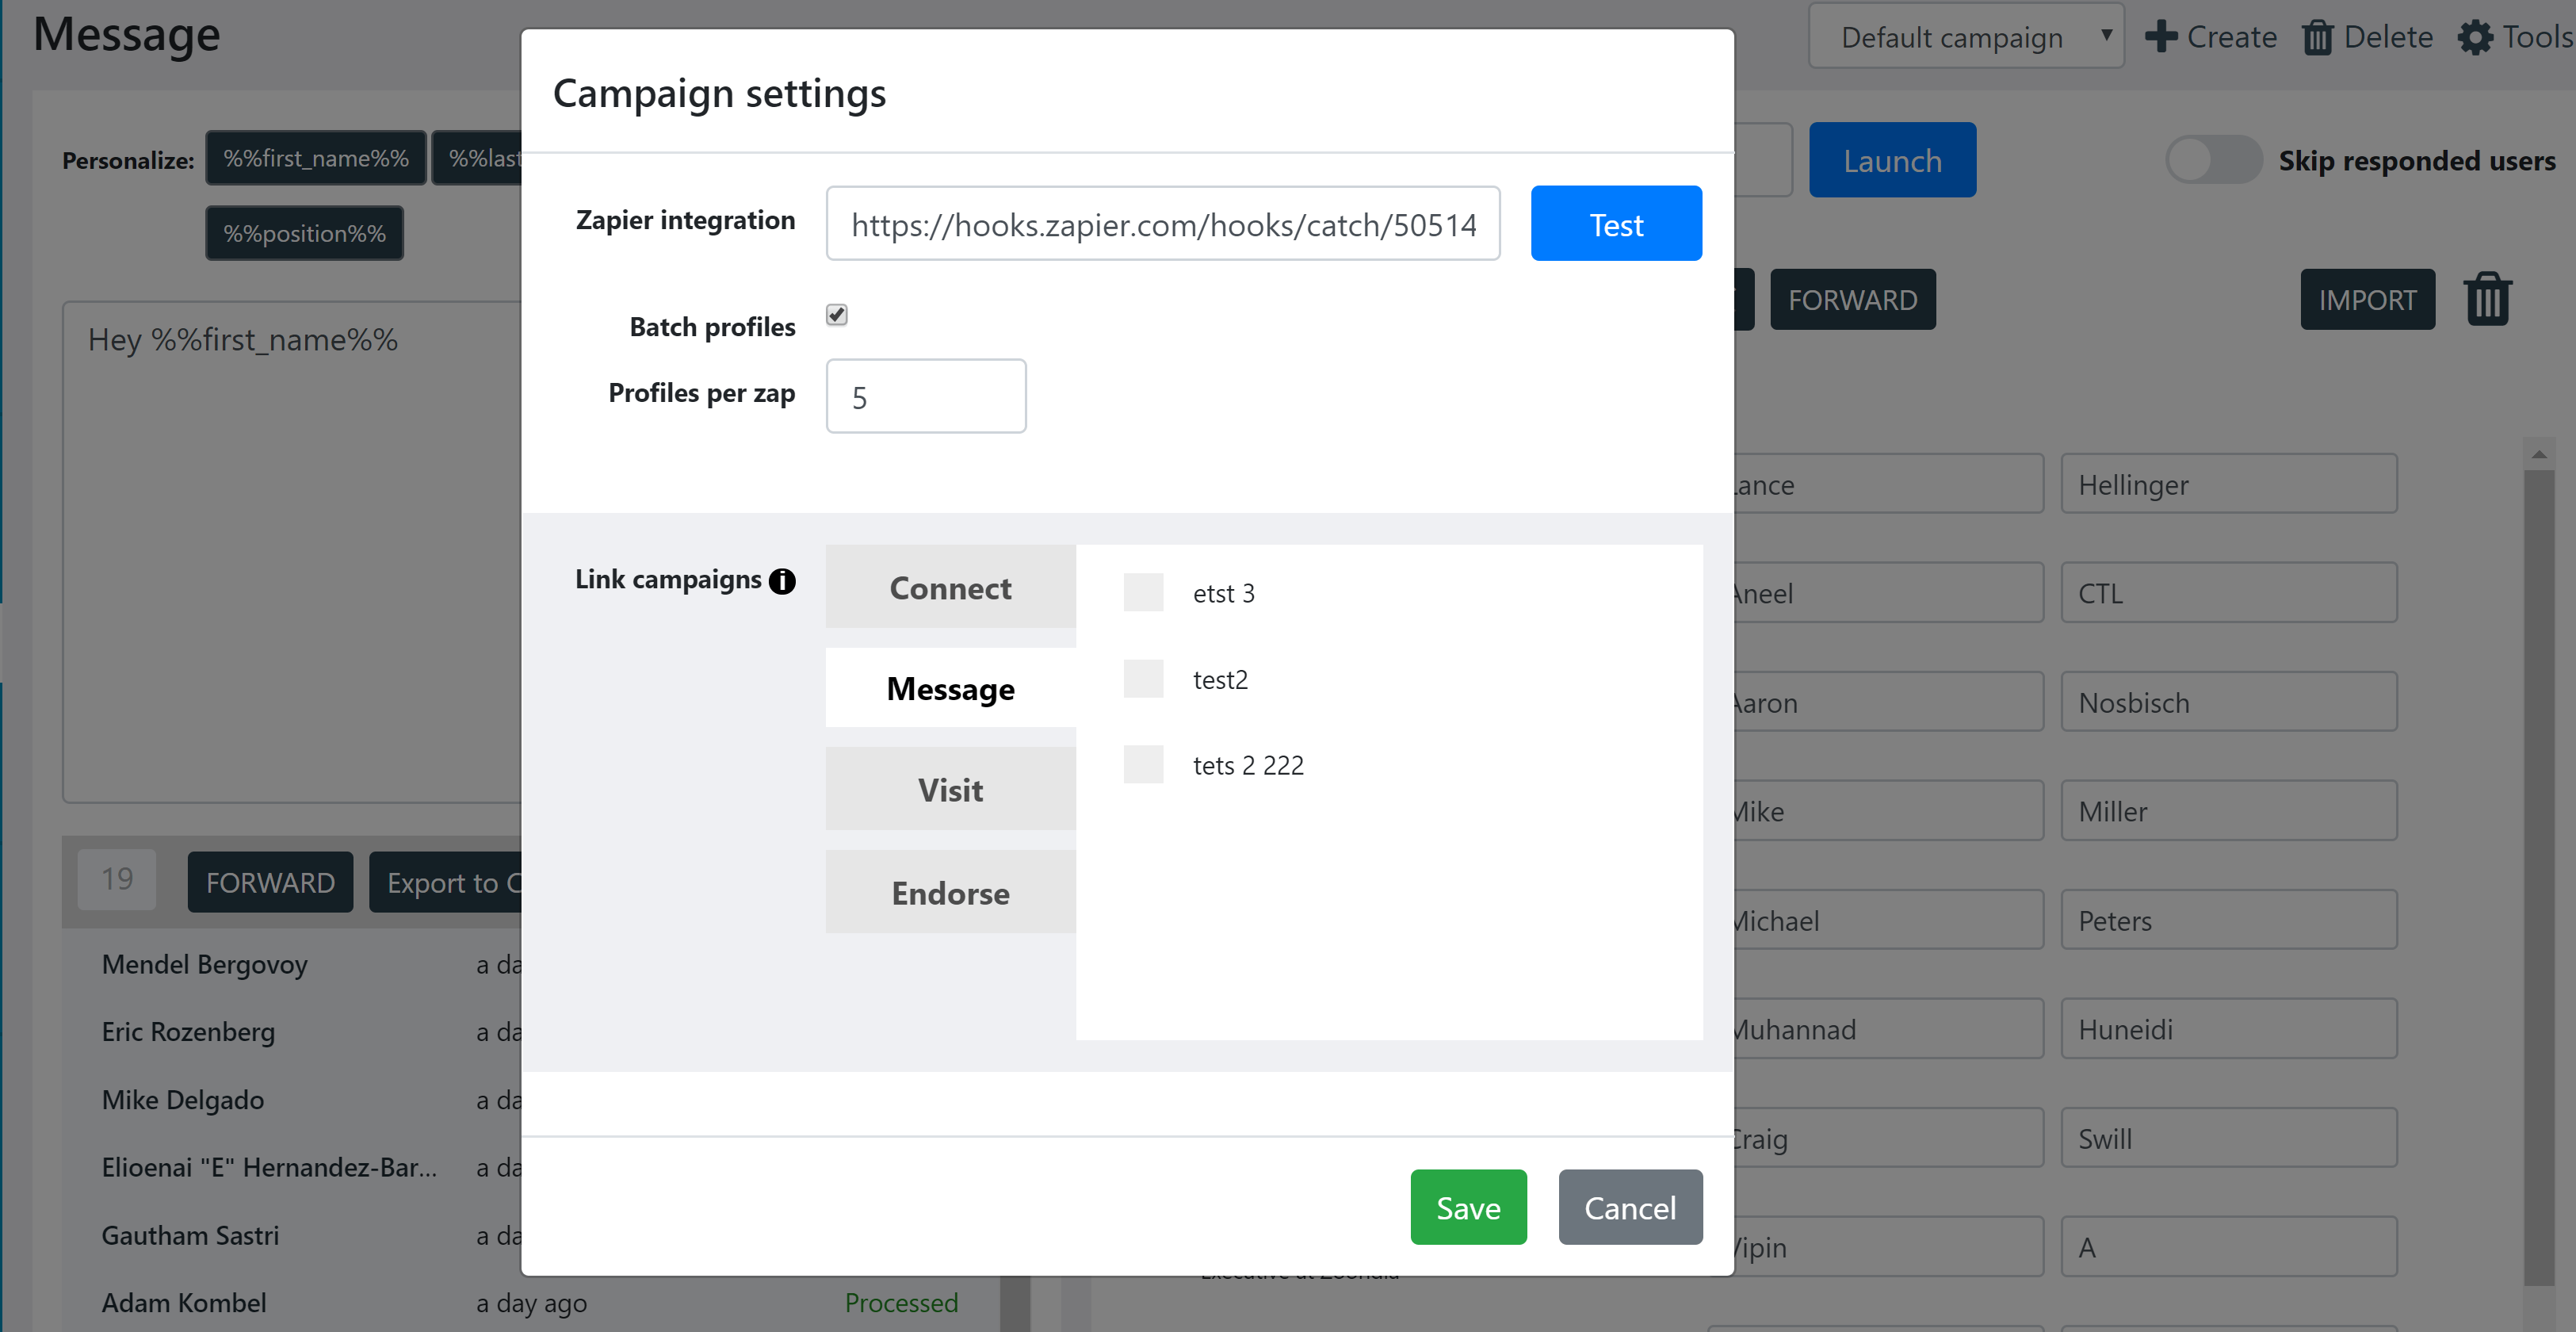
Then go to Octopus CRM, open the needed campaign ->”Tools”, paste the Webhook URL into the Zapier integration filed, enable “Batch profiles” and enter the required number of profile / batch. Then press “TEST”
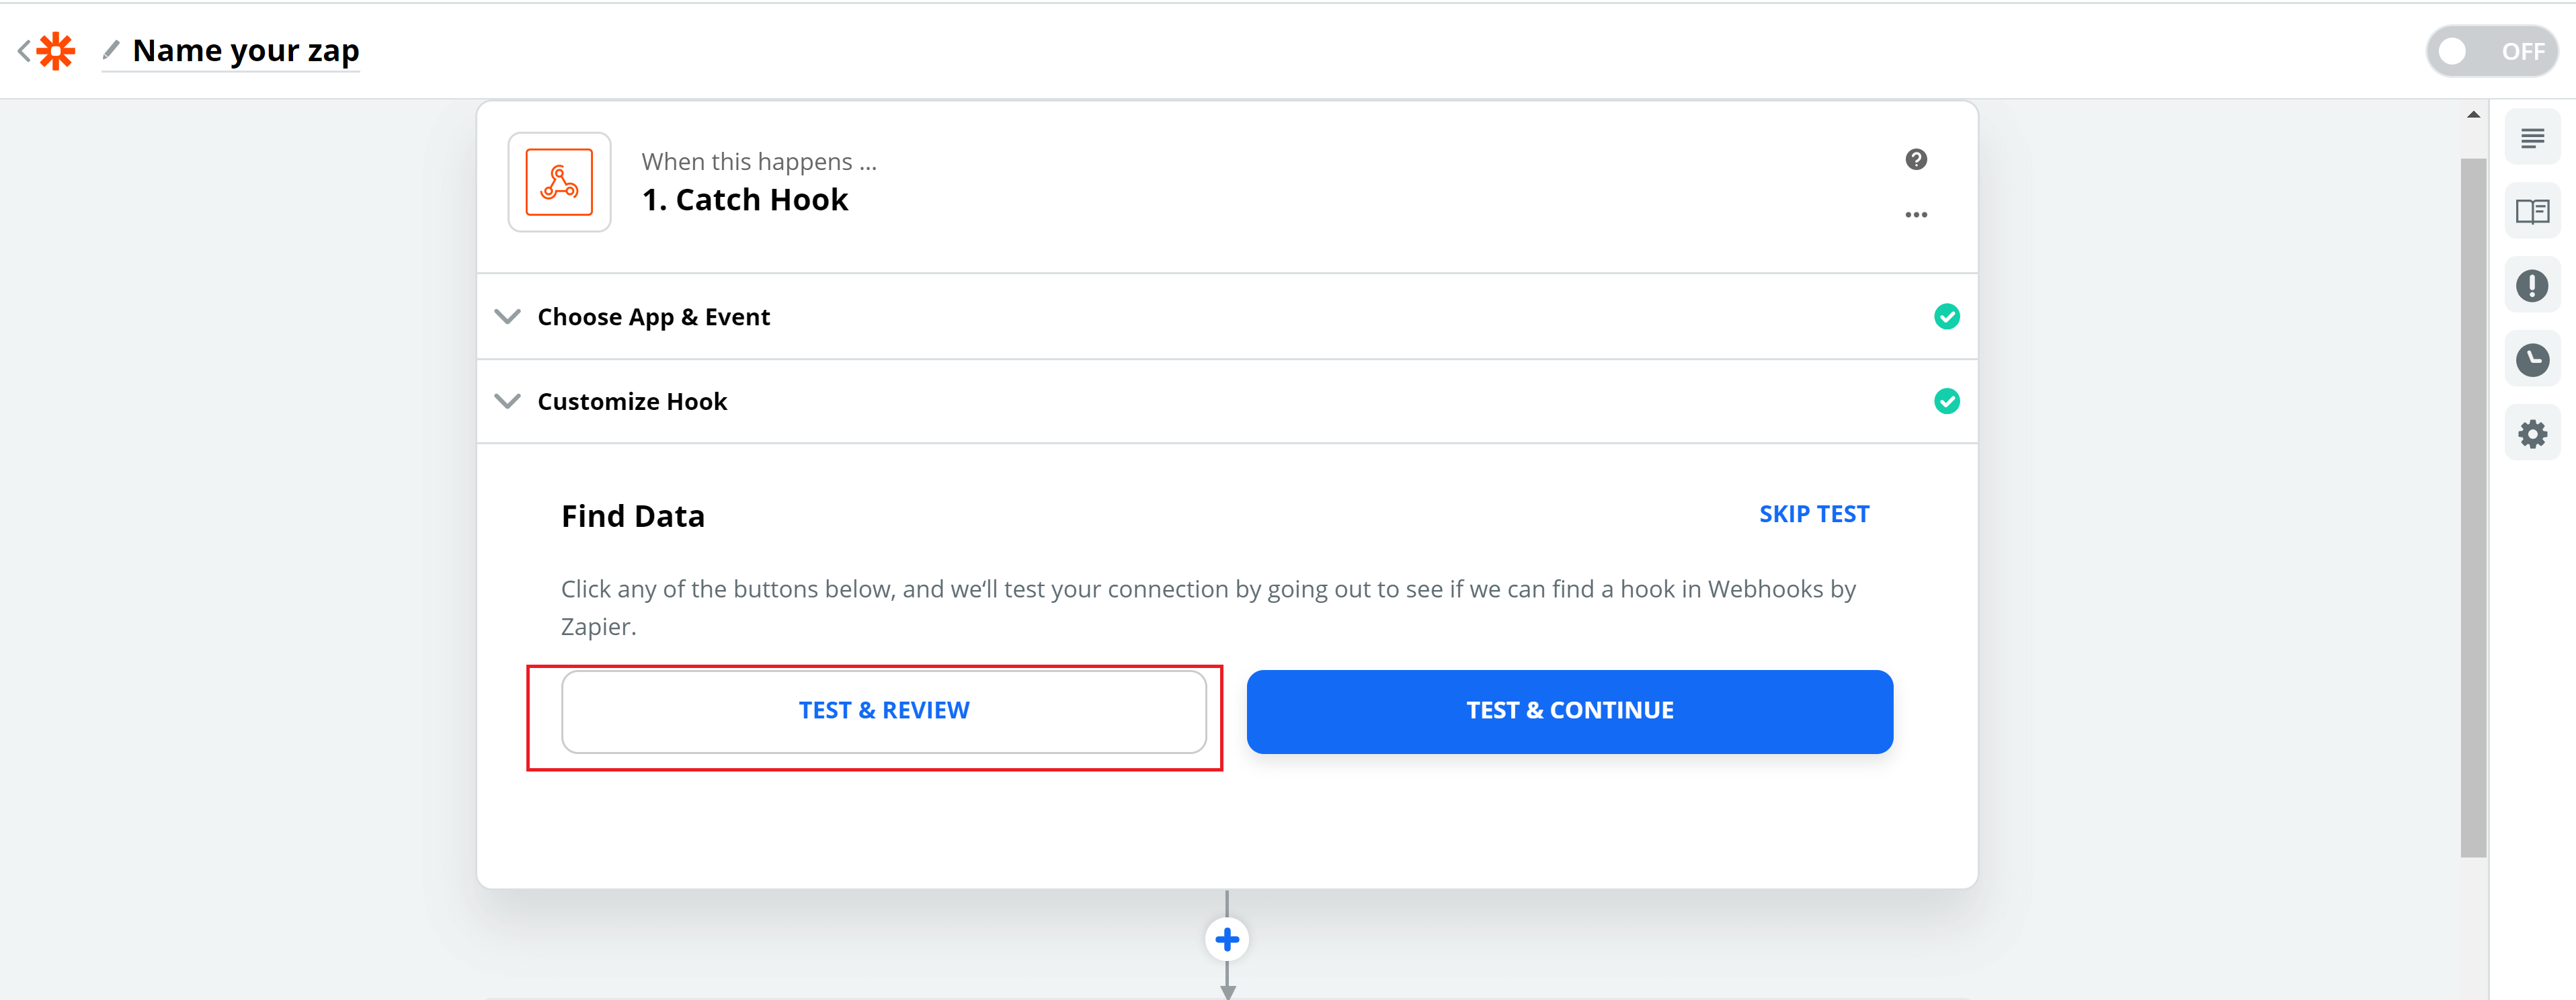
5. Go back to Zapier, press Continue and click “Test & Review”
You can review your test data hook and press “Done Editing”:
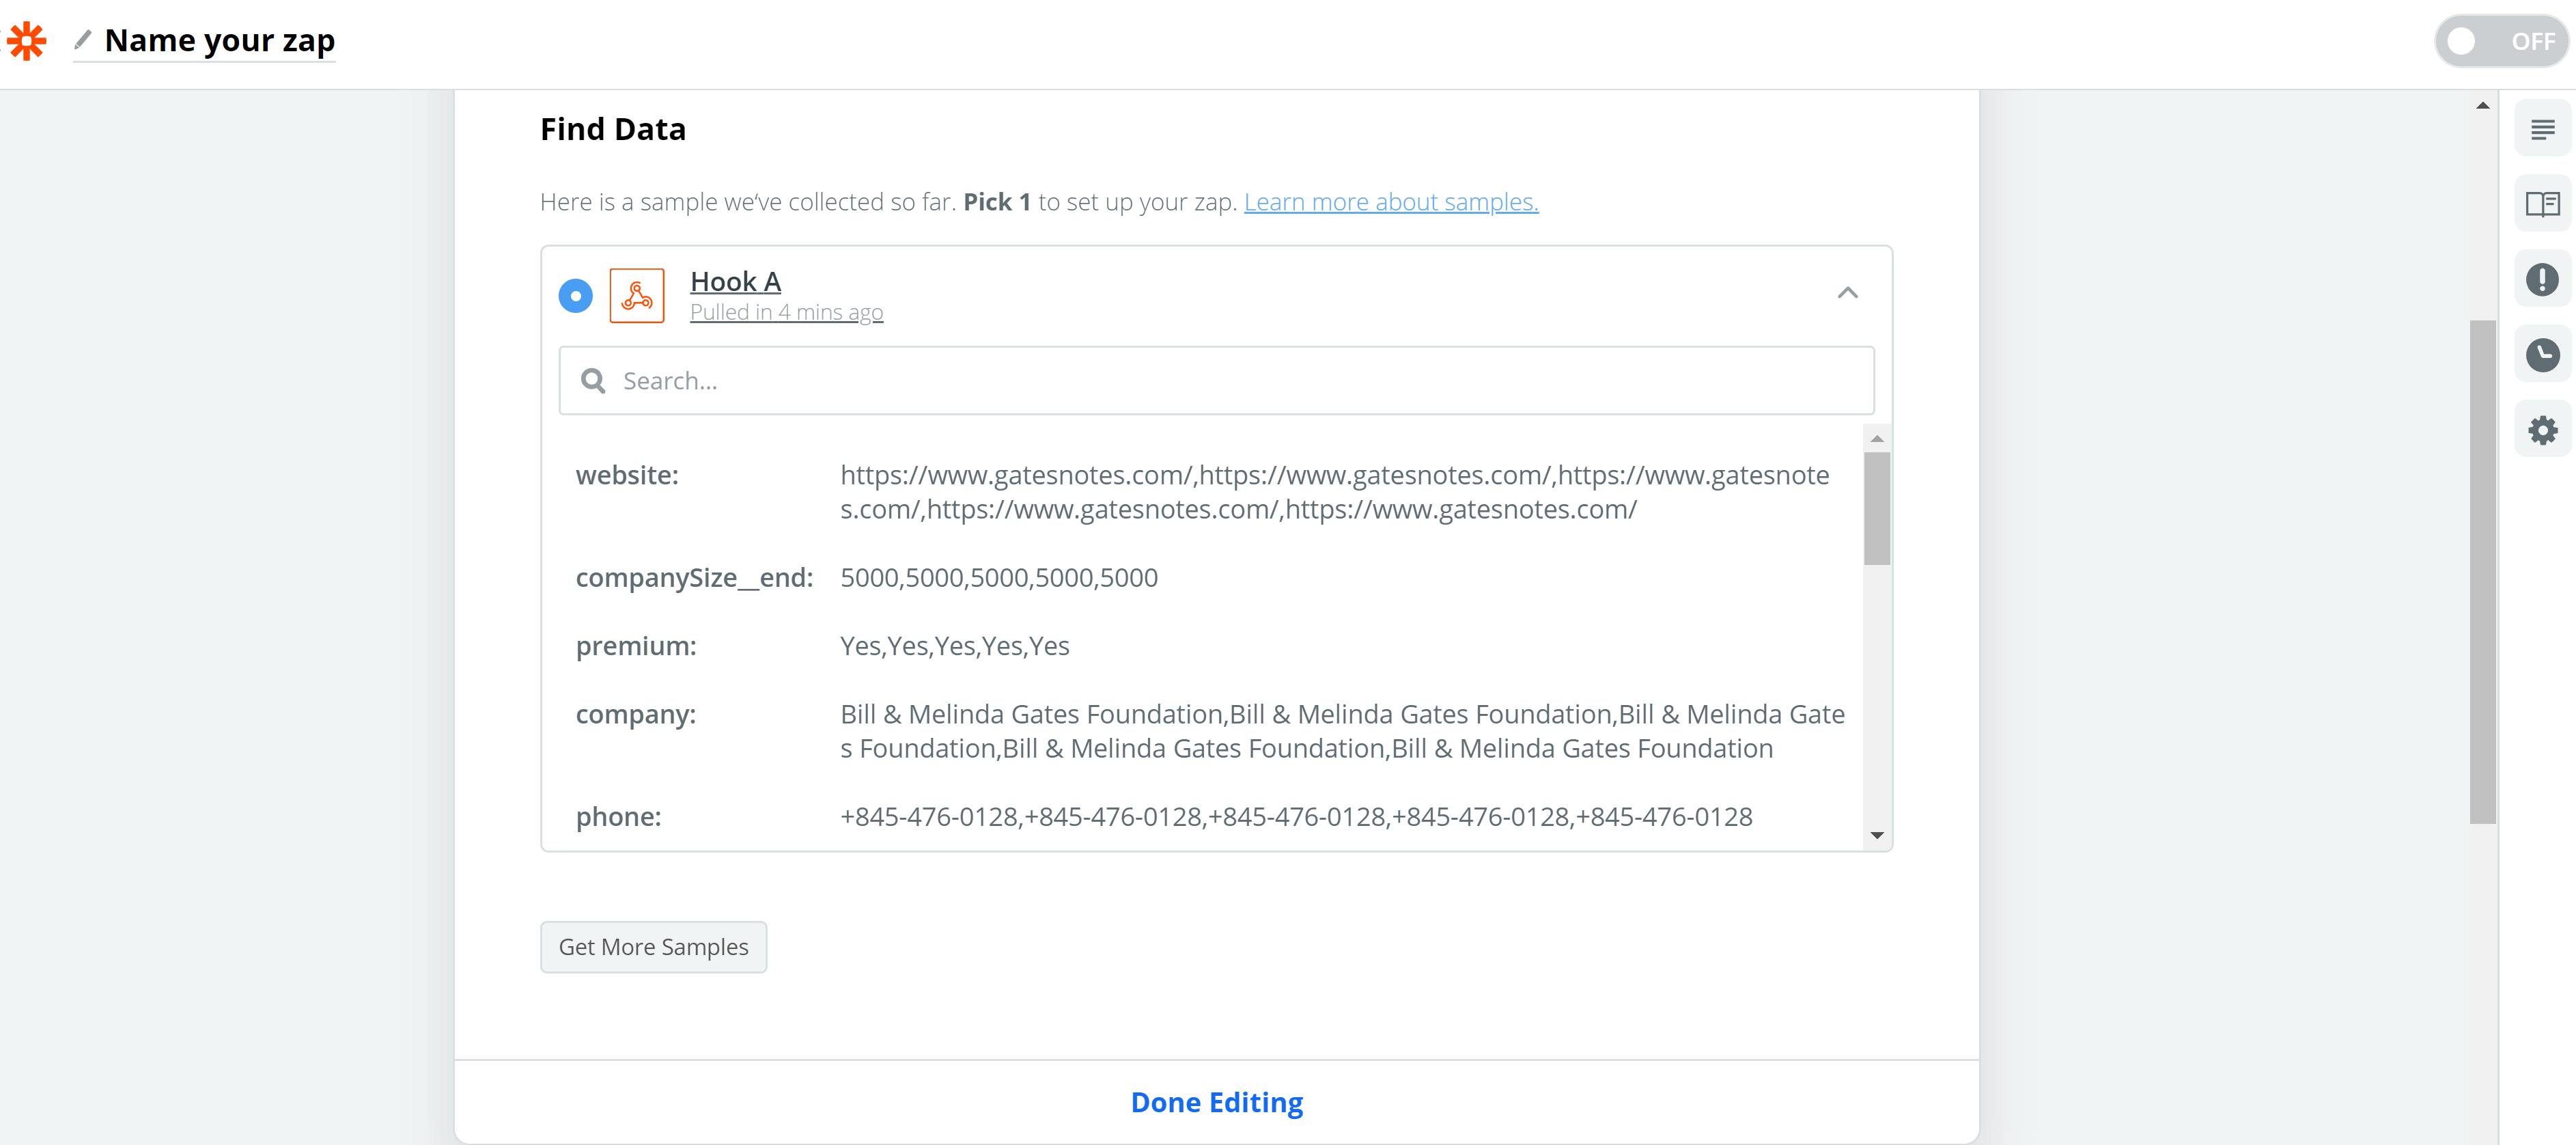
No worries if you see some duplicated info in these fields, it’s totally fine 🙂
The next step will be to divide this info into separate rows.
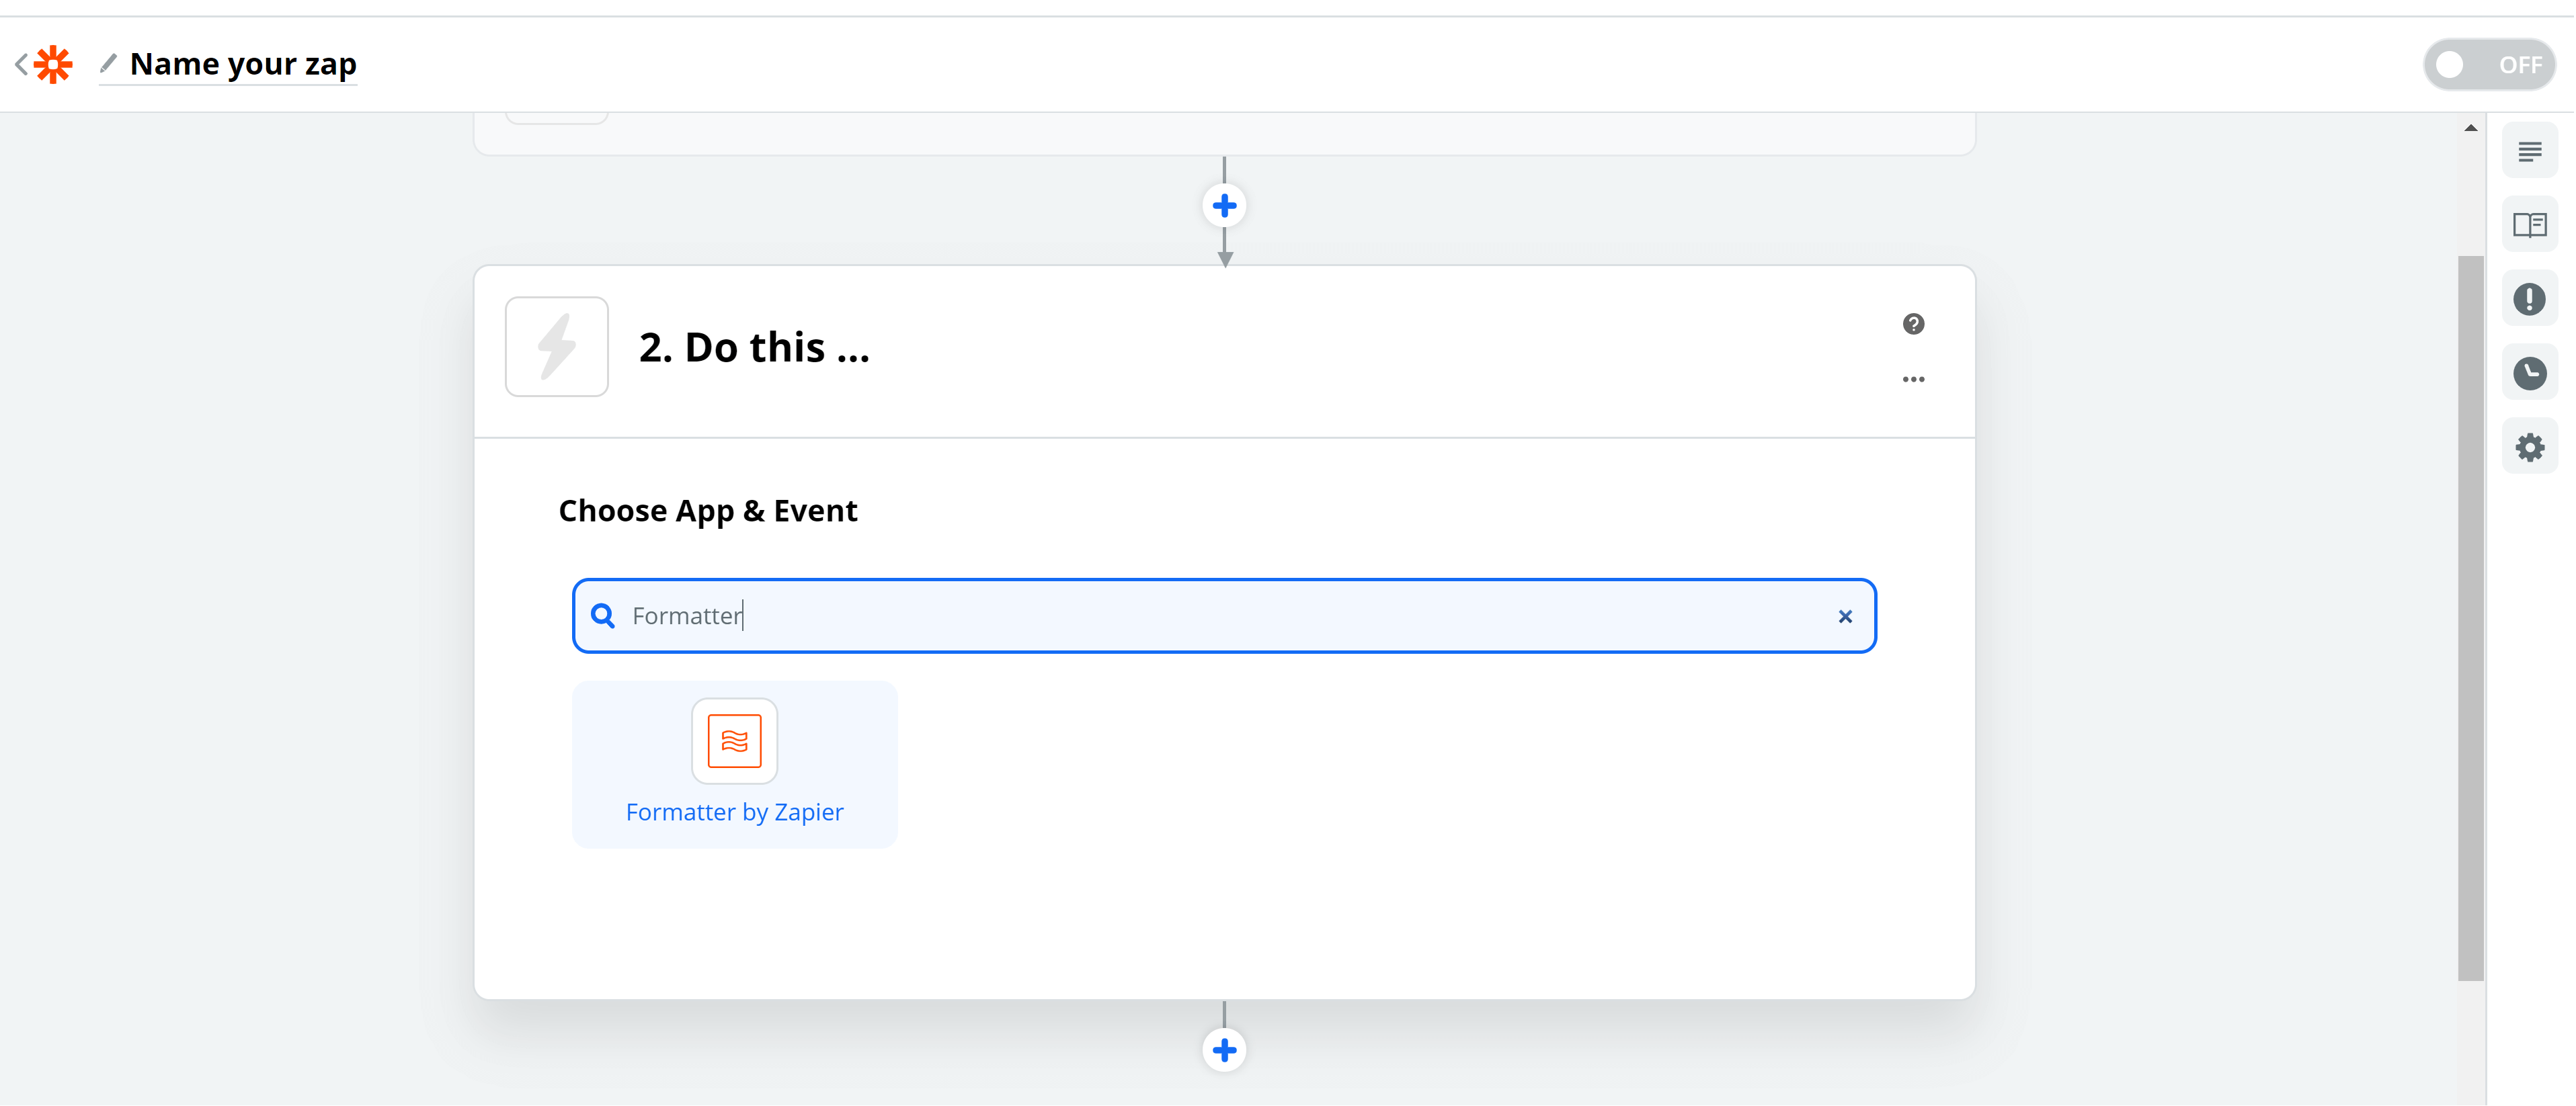
6. Click on STEP 2 and search for “Formatter by Zapier”
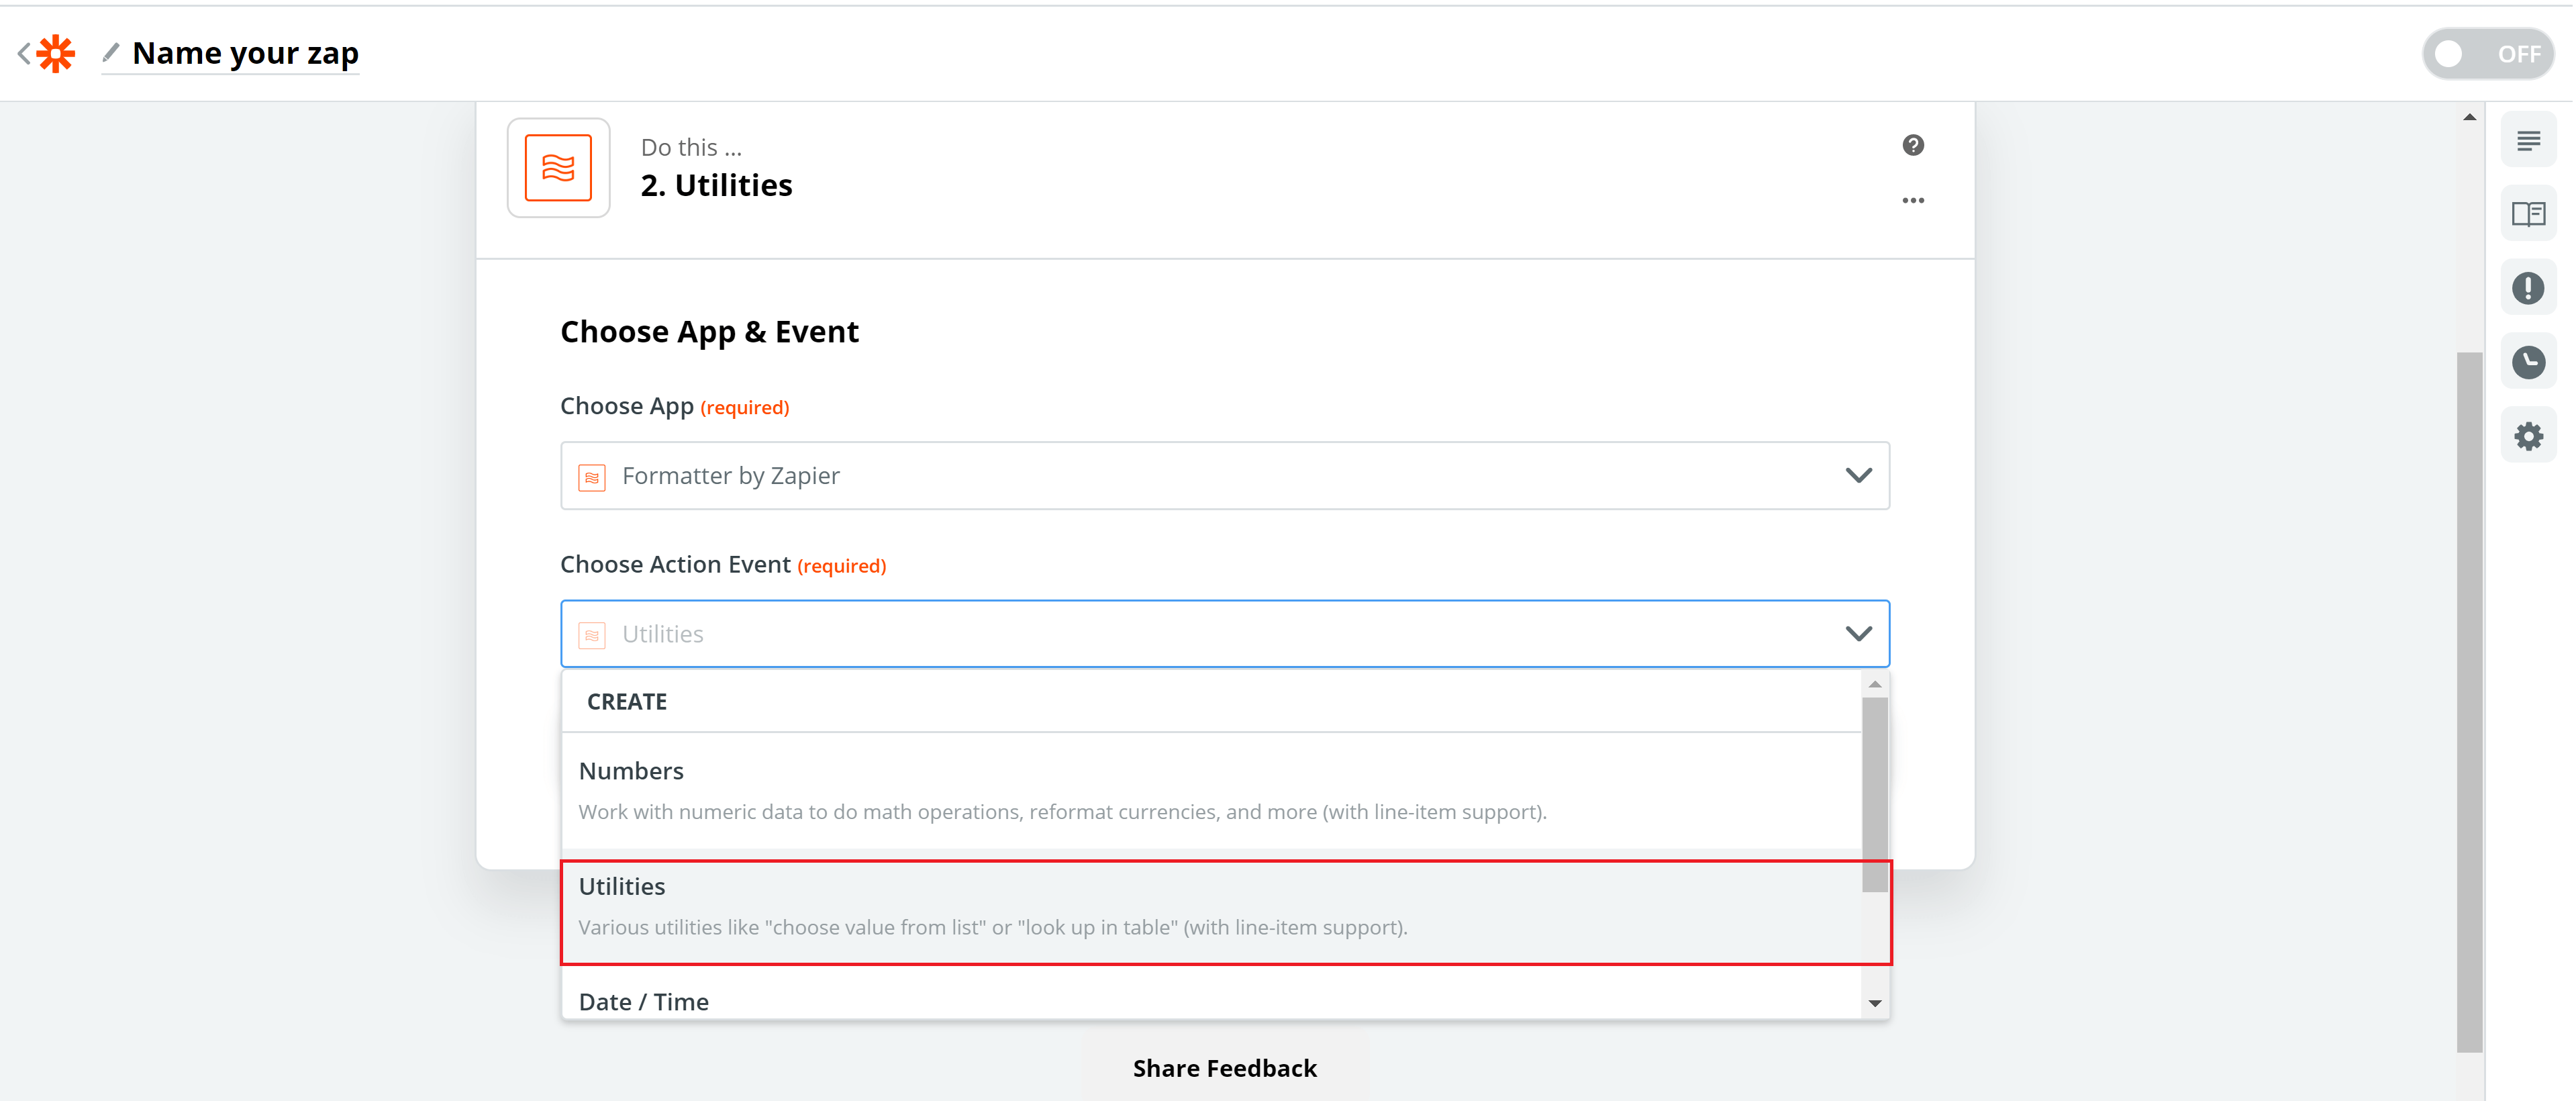
7. Choose “Utilities” as action event in the drop-down menu and press Continue
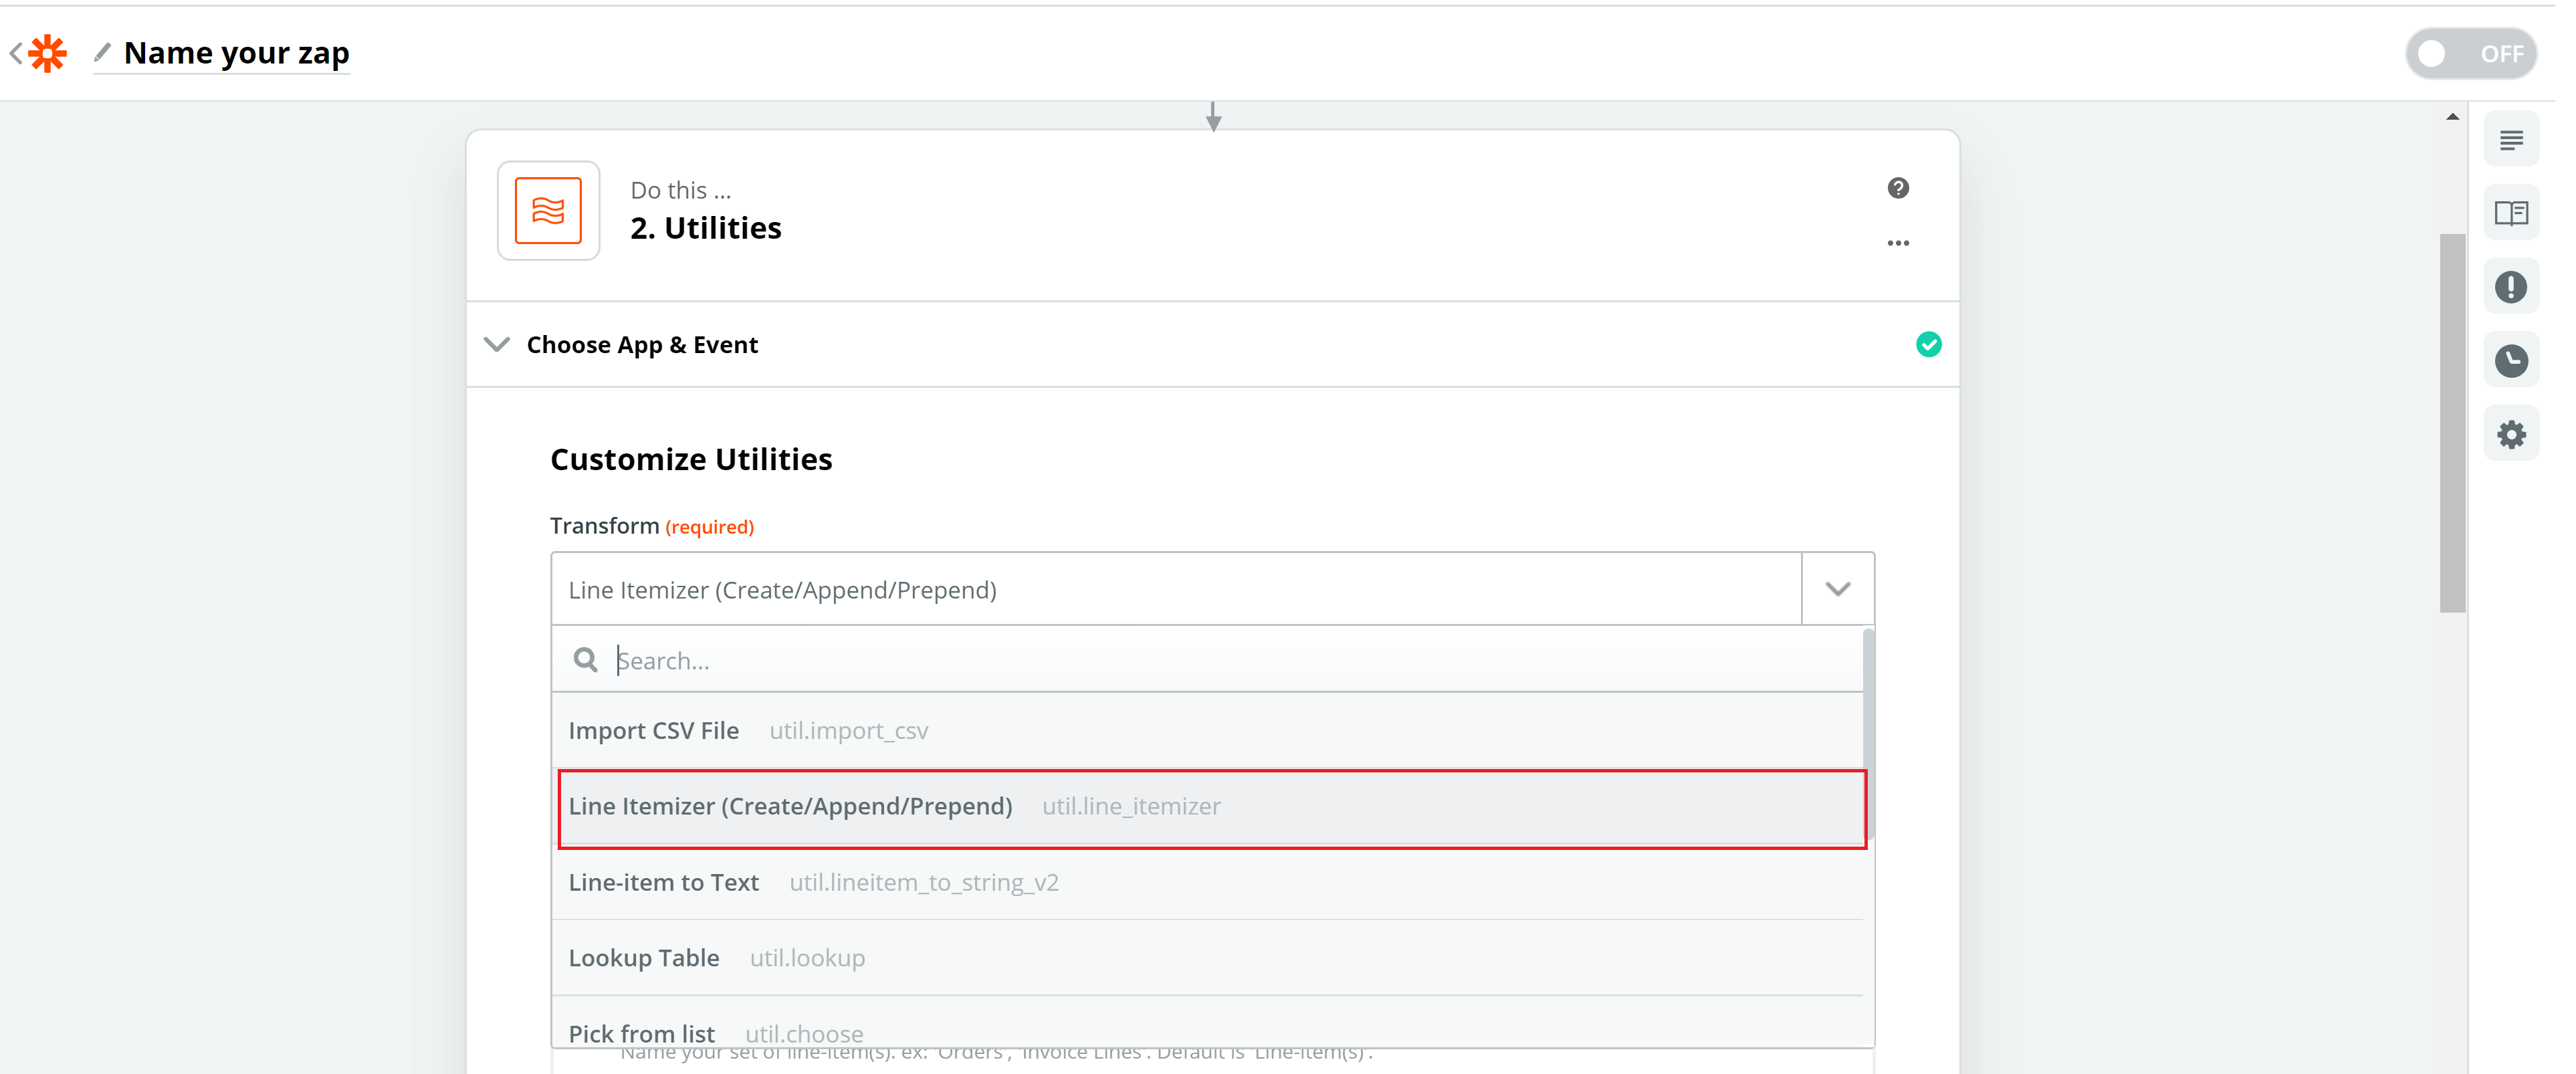
8. Now search for “Line Itemizer (Create/Append/Prepend)” in utilities:
9. Scroll down a bit and fill out the “Line-item Properties”. First, fill out the right column by clicking on the “insert a field” icon and selecting the needed property. Then simply give those properties names by filling out the left column.
Once done, press “Continue” and then -> “Test and Continue”

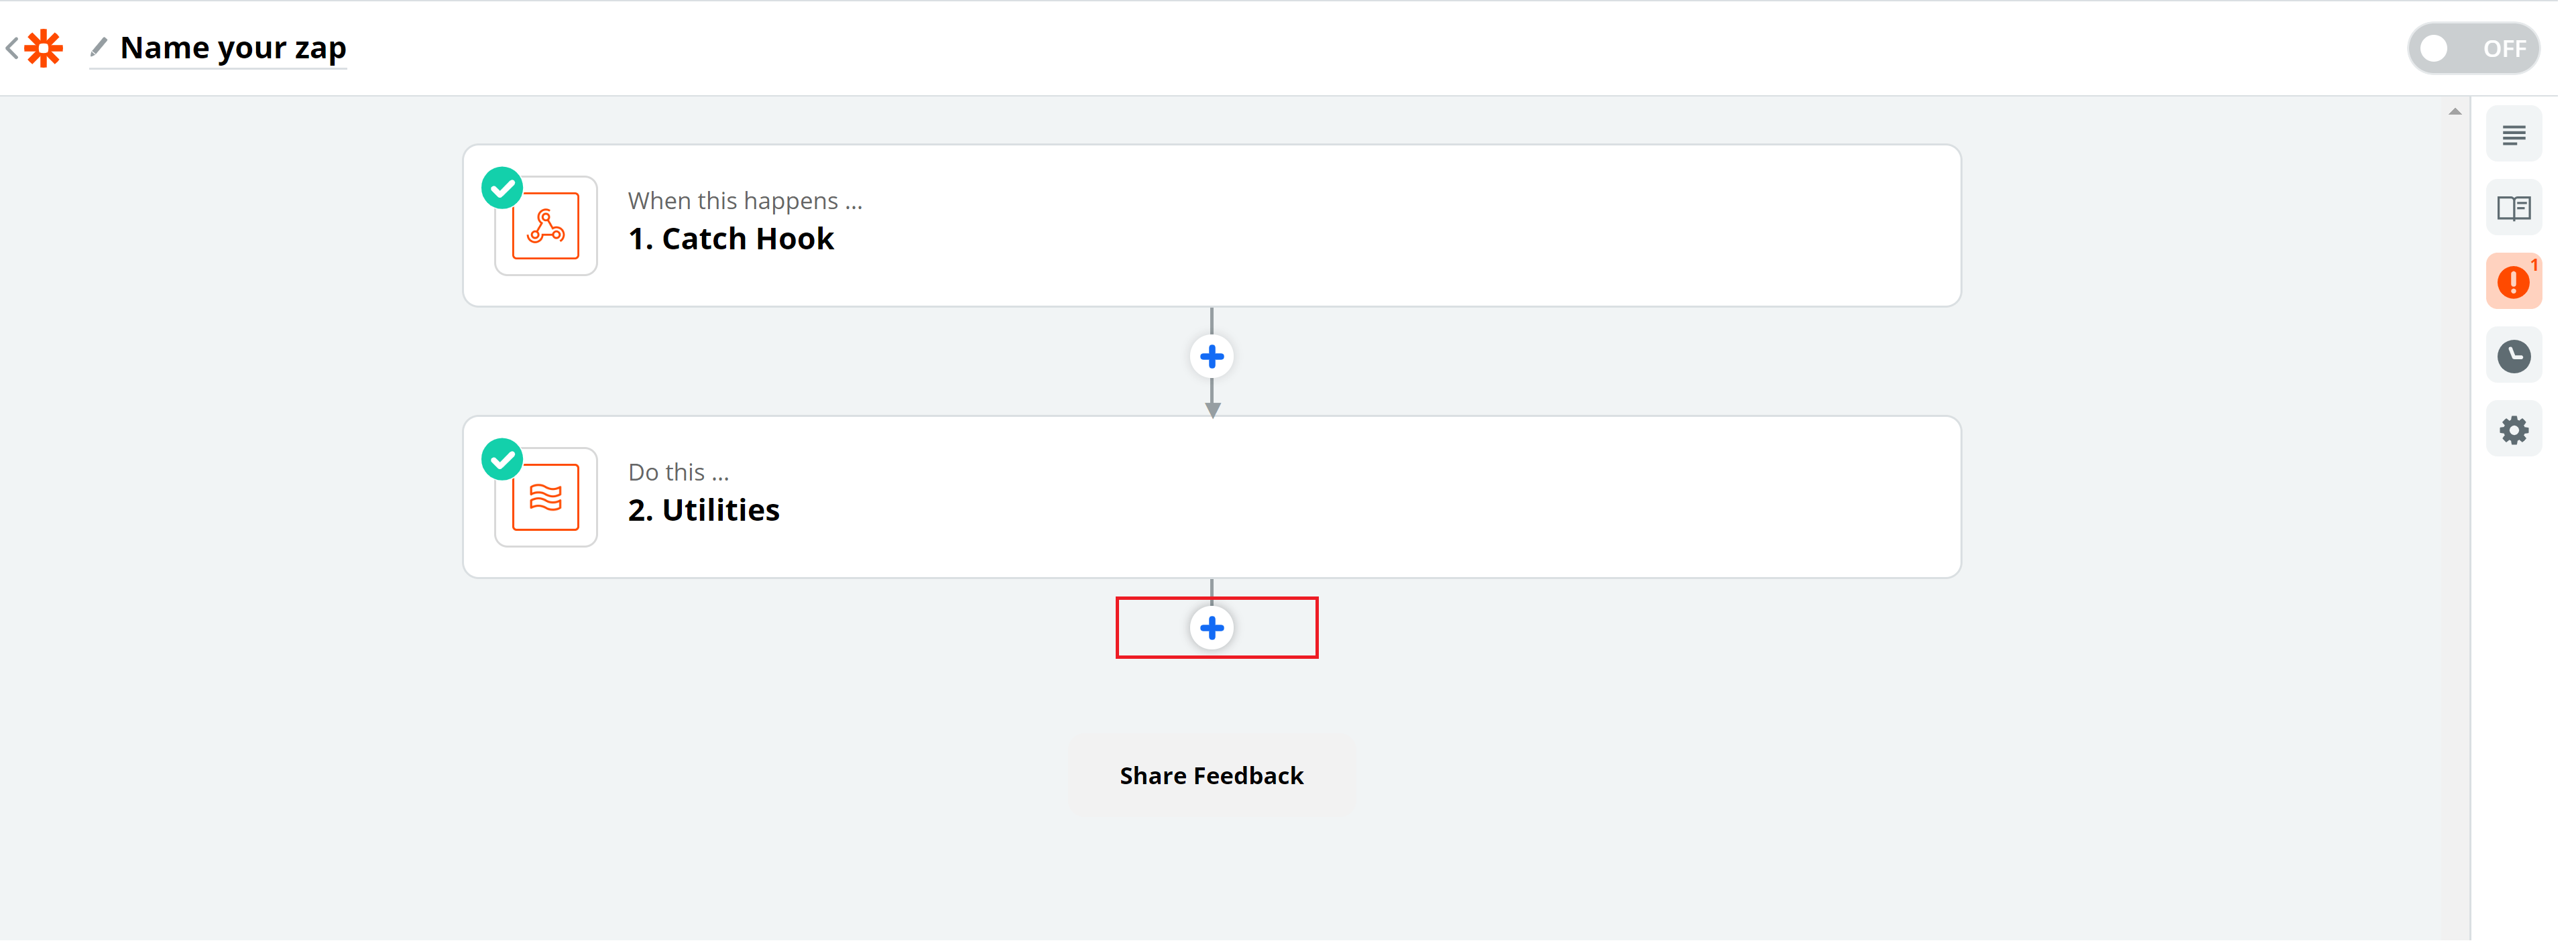
10. Now we have to add the 3rd step by clicking on + here:
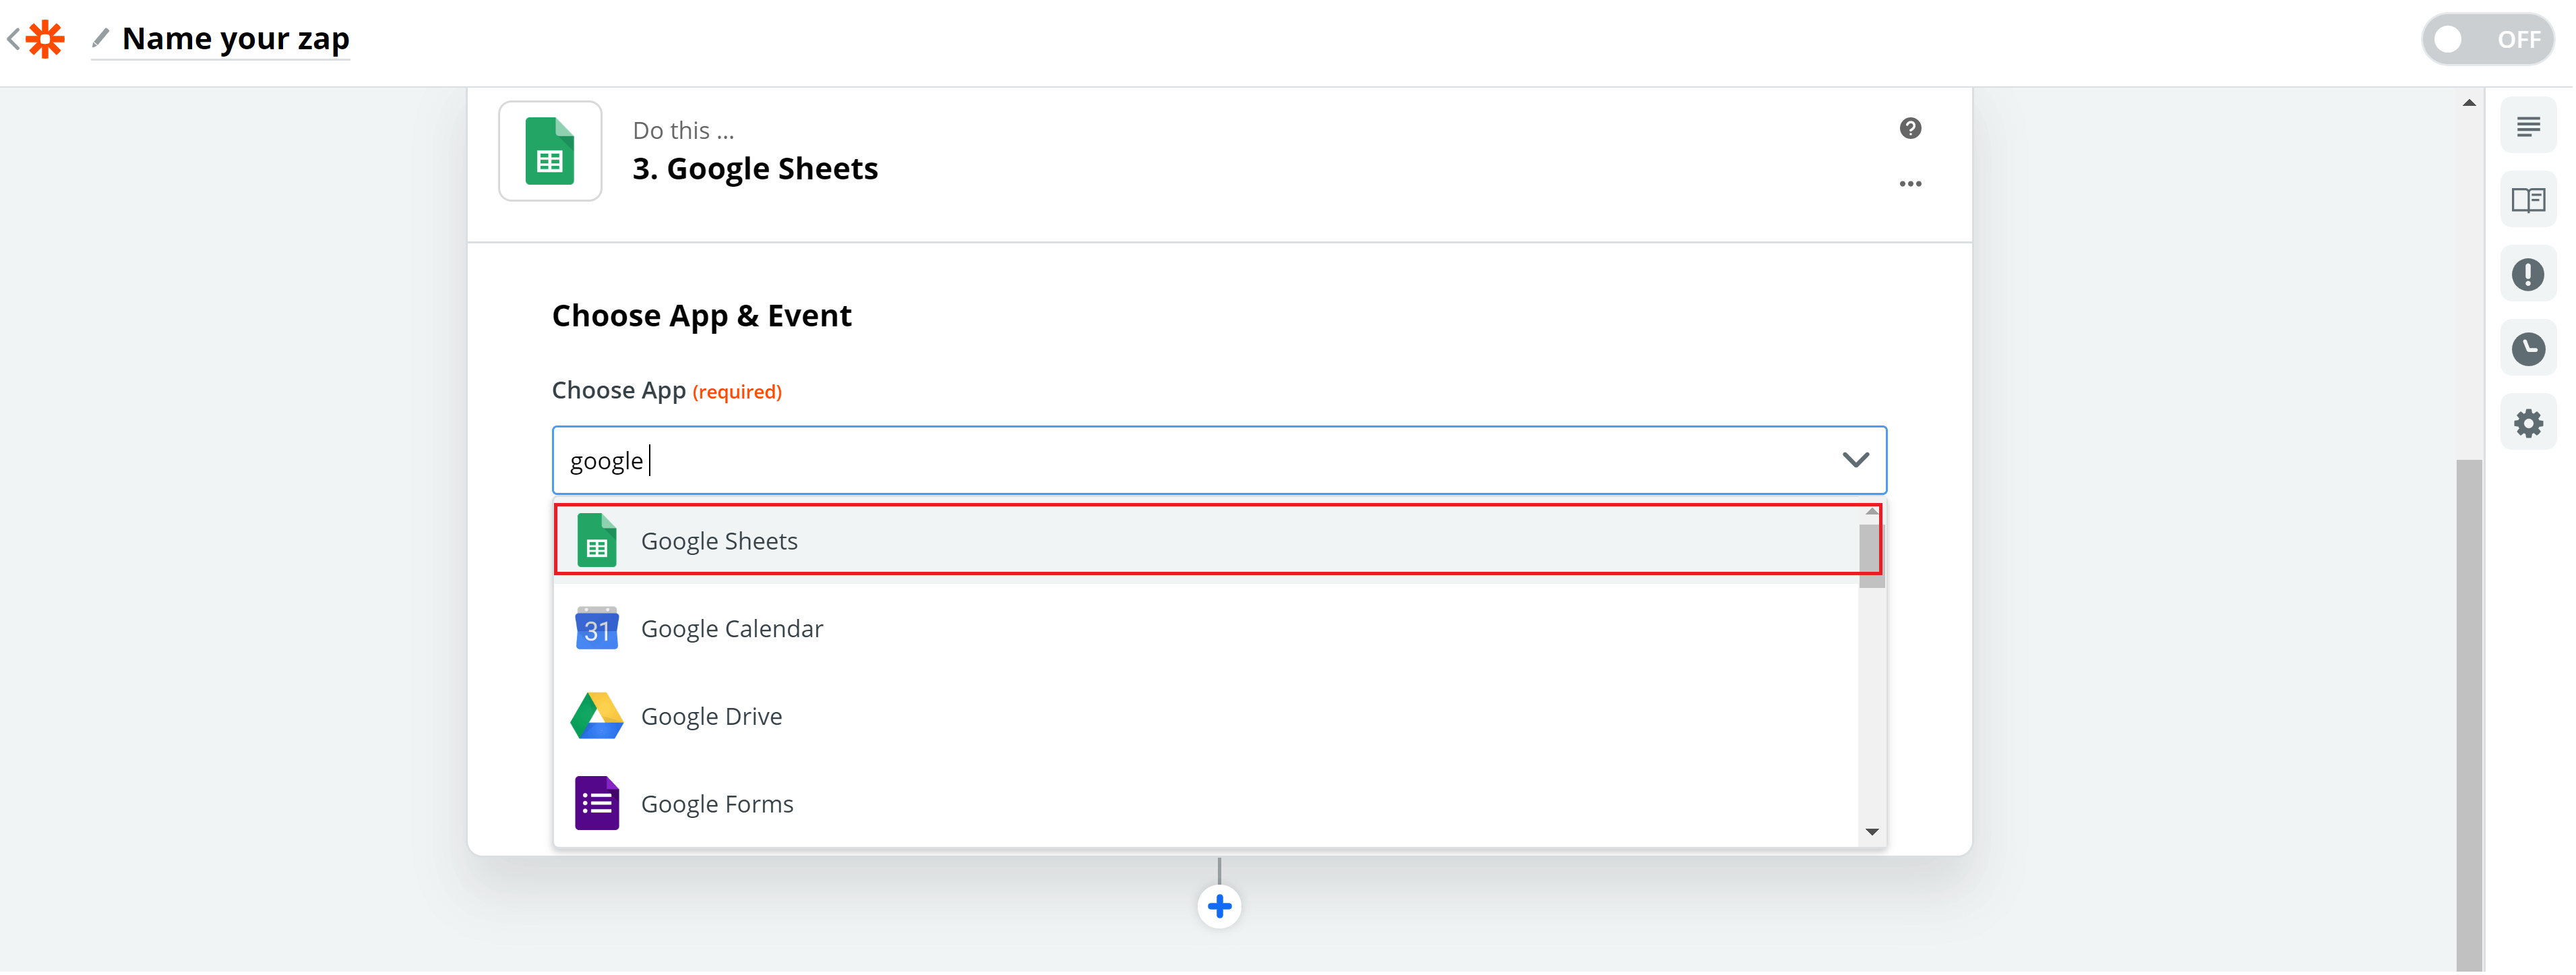
And enter the name of the software you would like to send this data to. If you would like to push data and create contacts in Hubspot -> search for “Hubspot CRM”, if that’s Google Sheets, then enter “Google Sheets” in the search field. Let’s do Google Sheets now:
11. Open the drop-down menu in “Choose Action Event”, scroll down a bit and select “Create Spreadsheet Row(s)”.
Important! Make sure to choose “Create Spreadsheet Row(s)”, not “Create Spreadsheet Row”, otherwise the integration won’t work well.
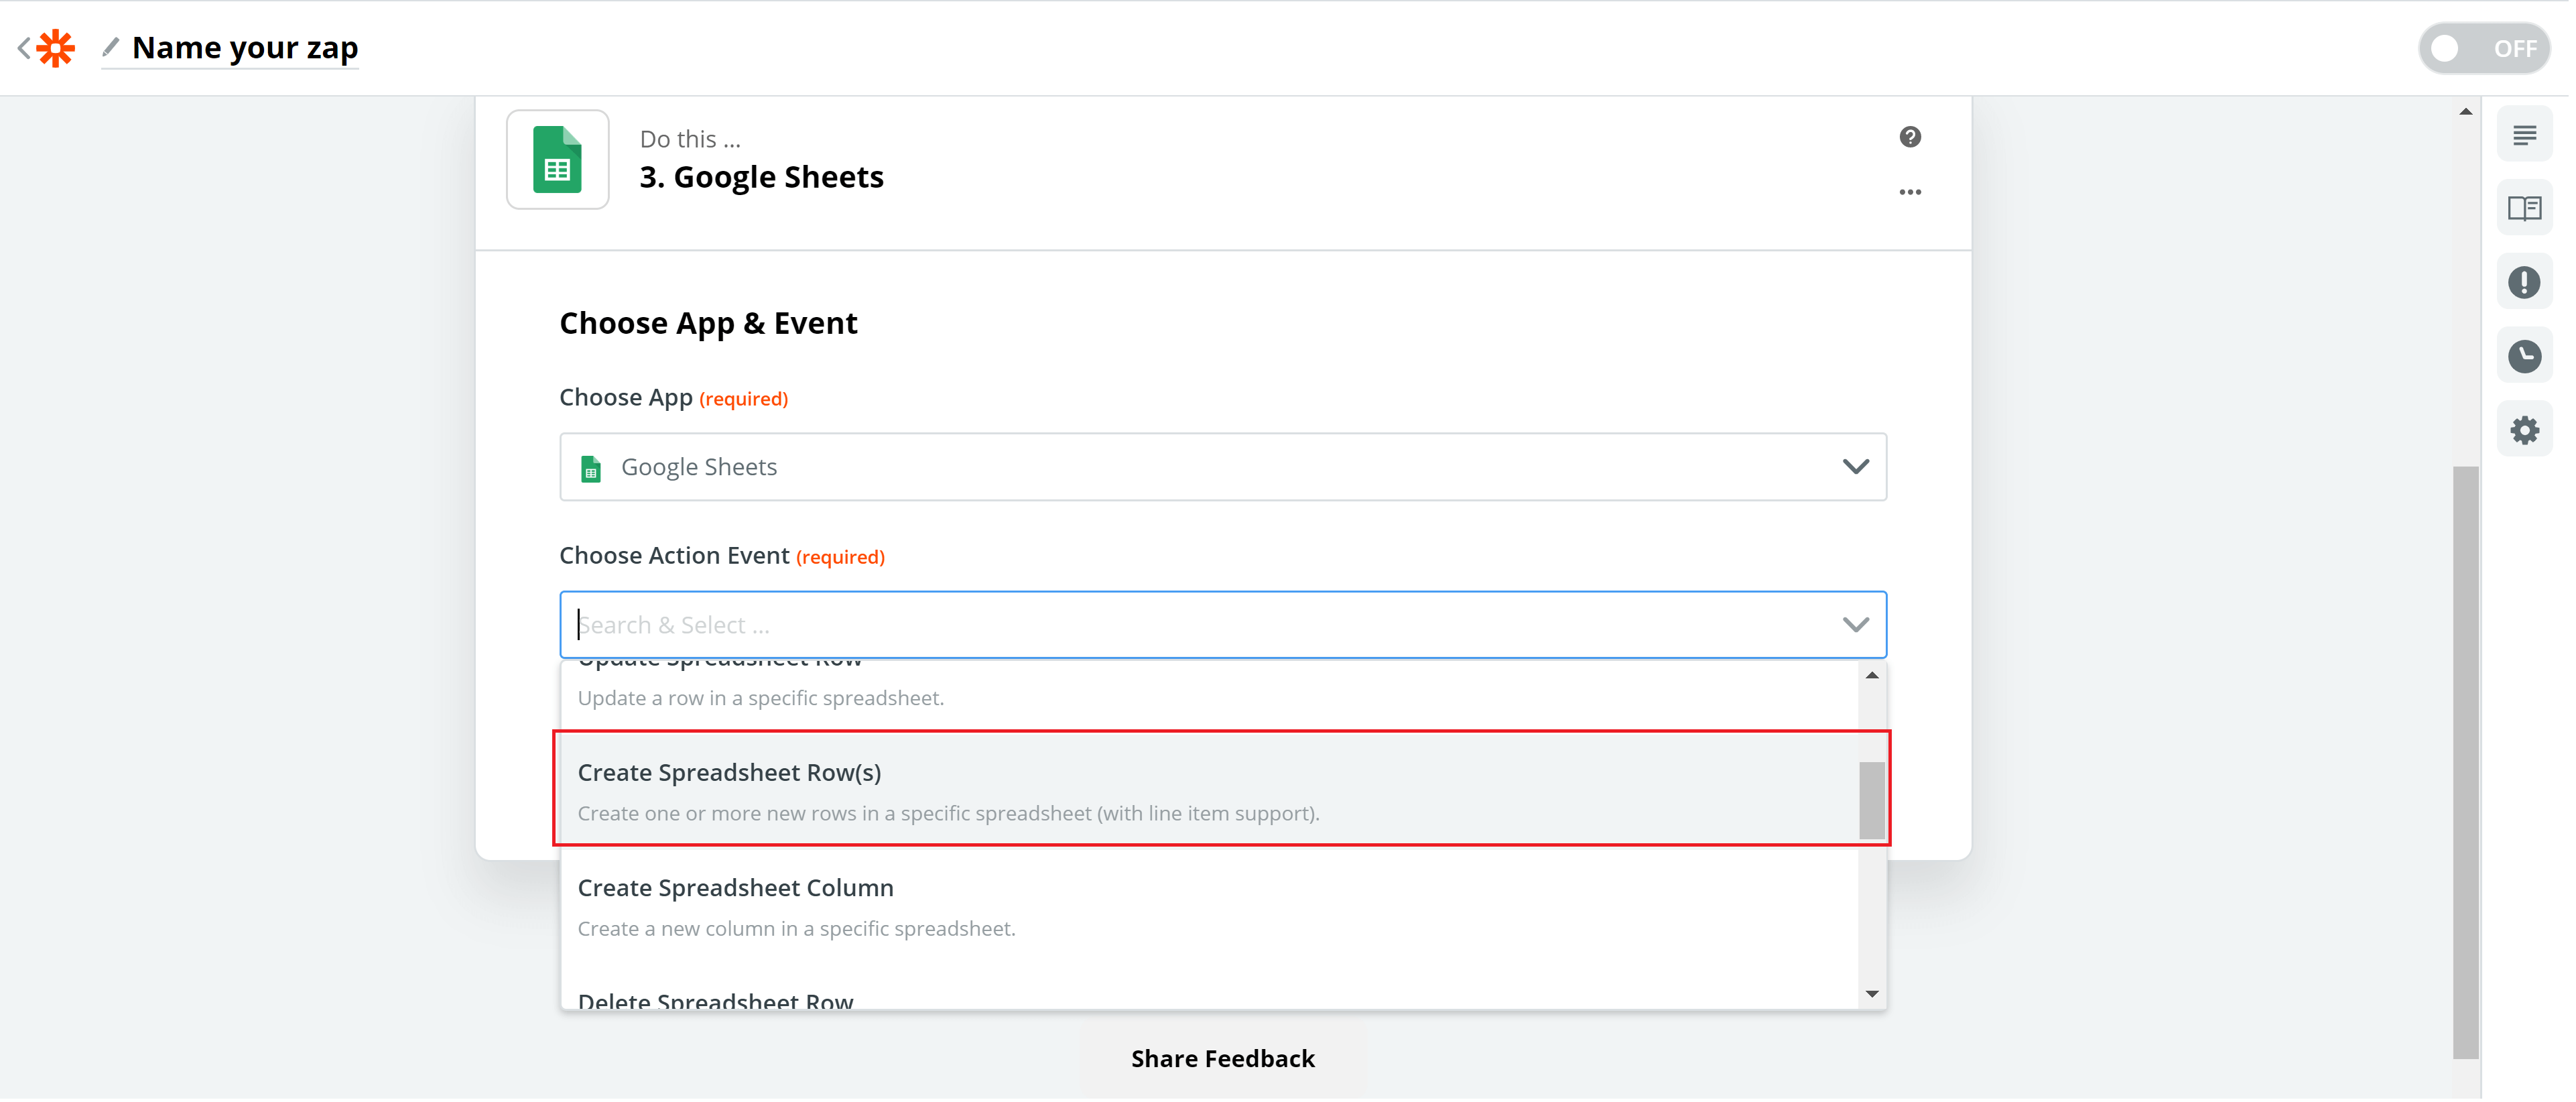
And press Continue
12. Log into your Google Drive account here:
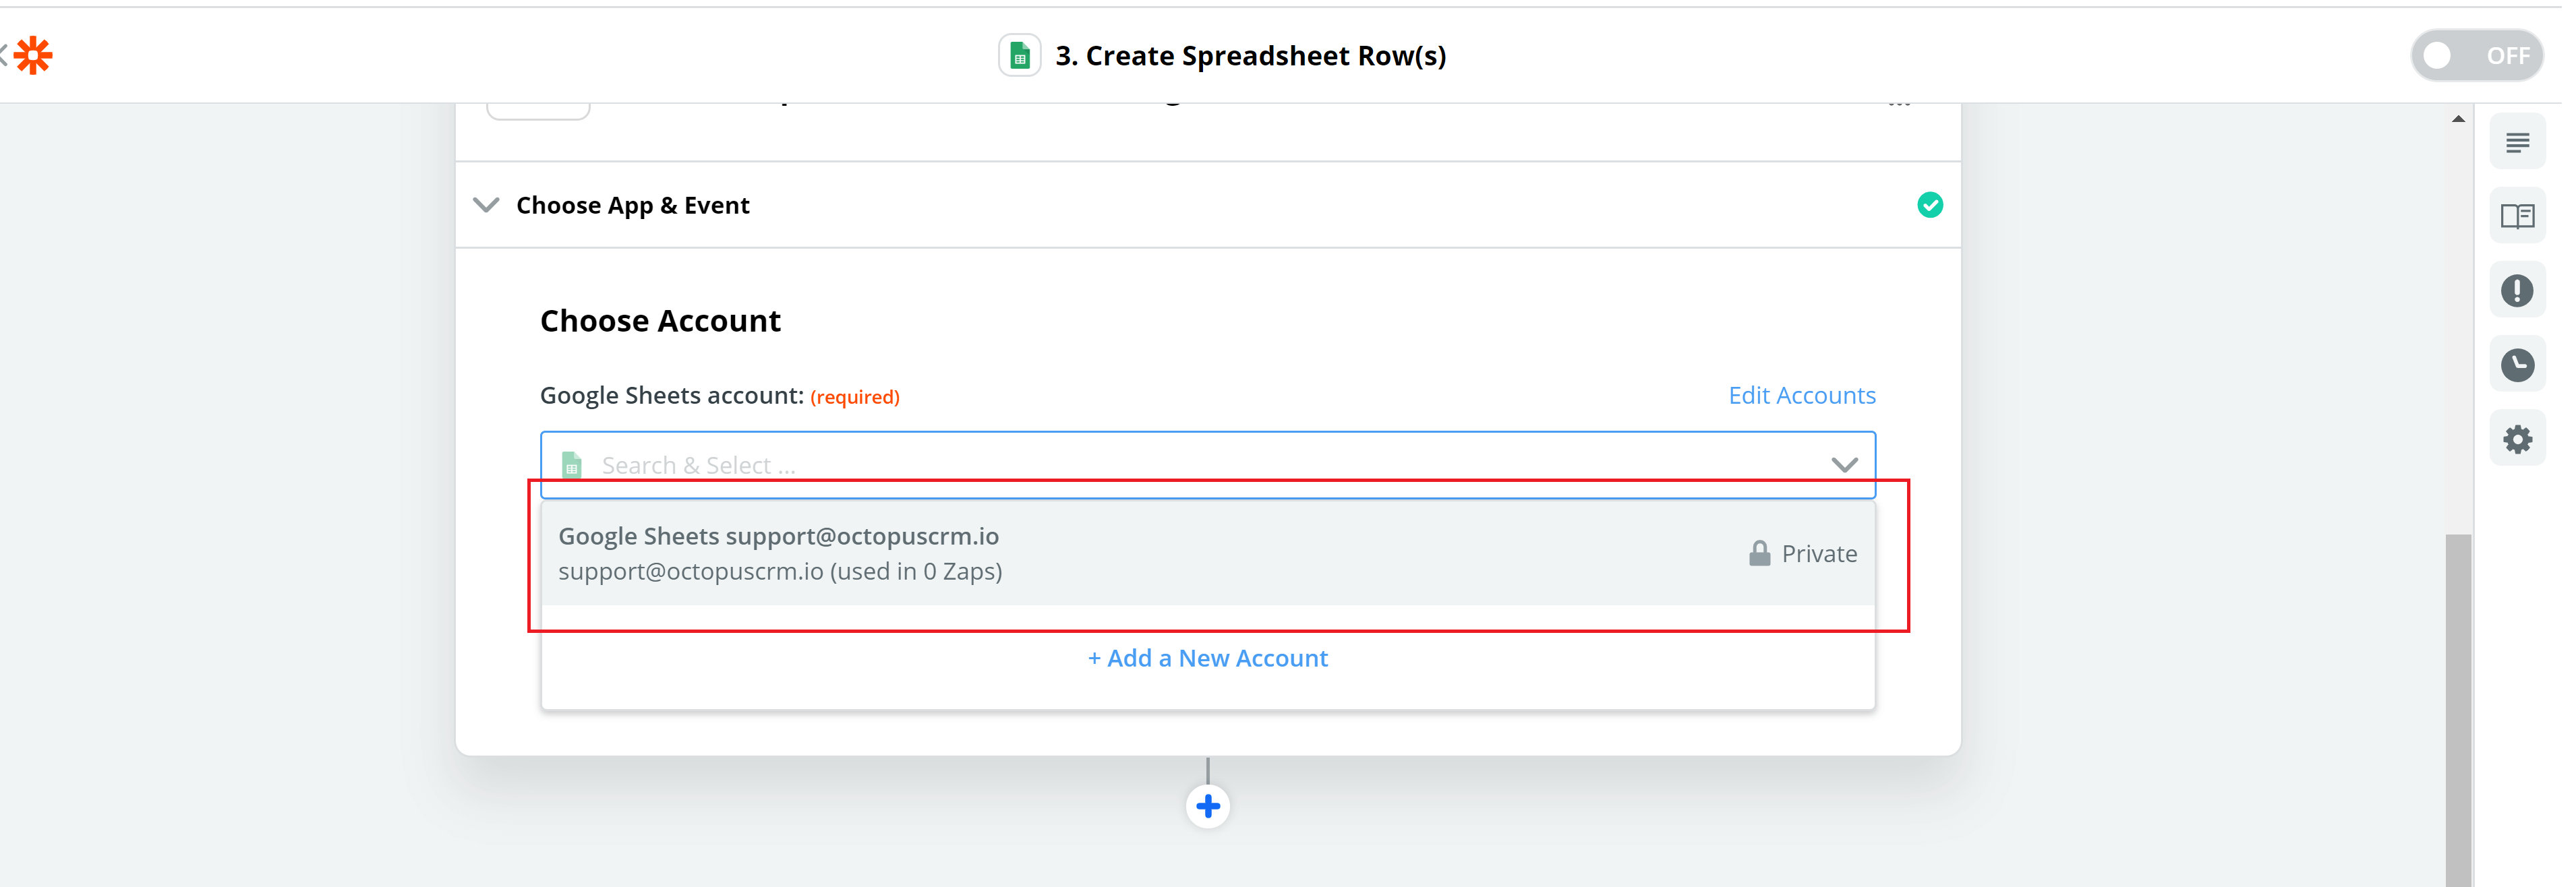
Press Continue
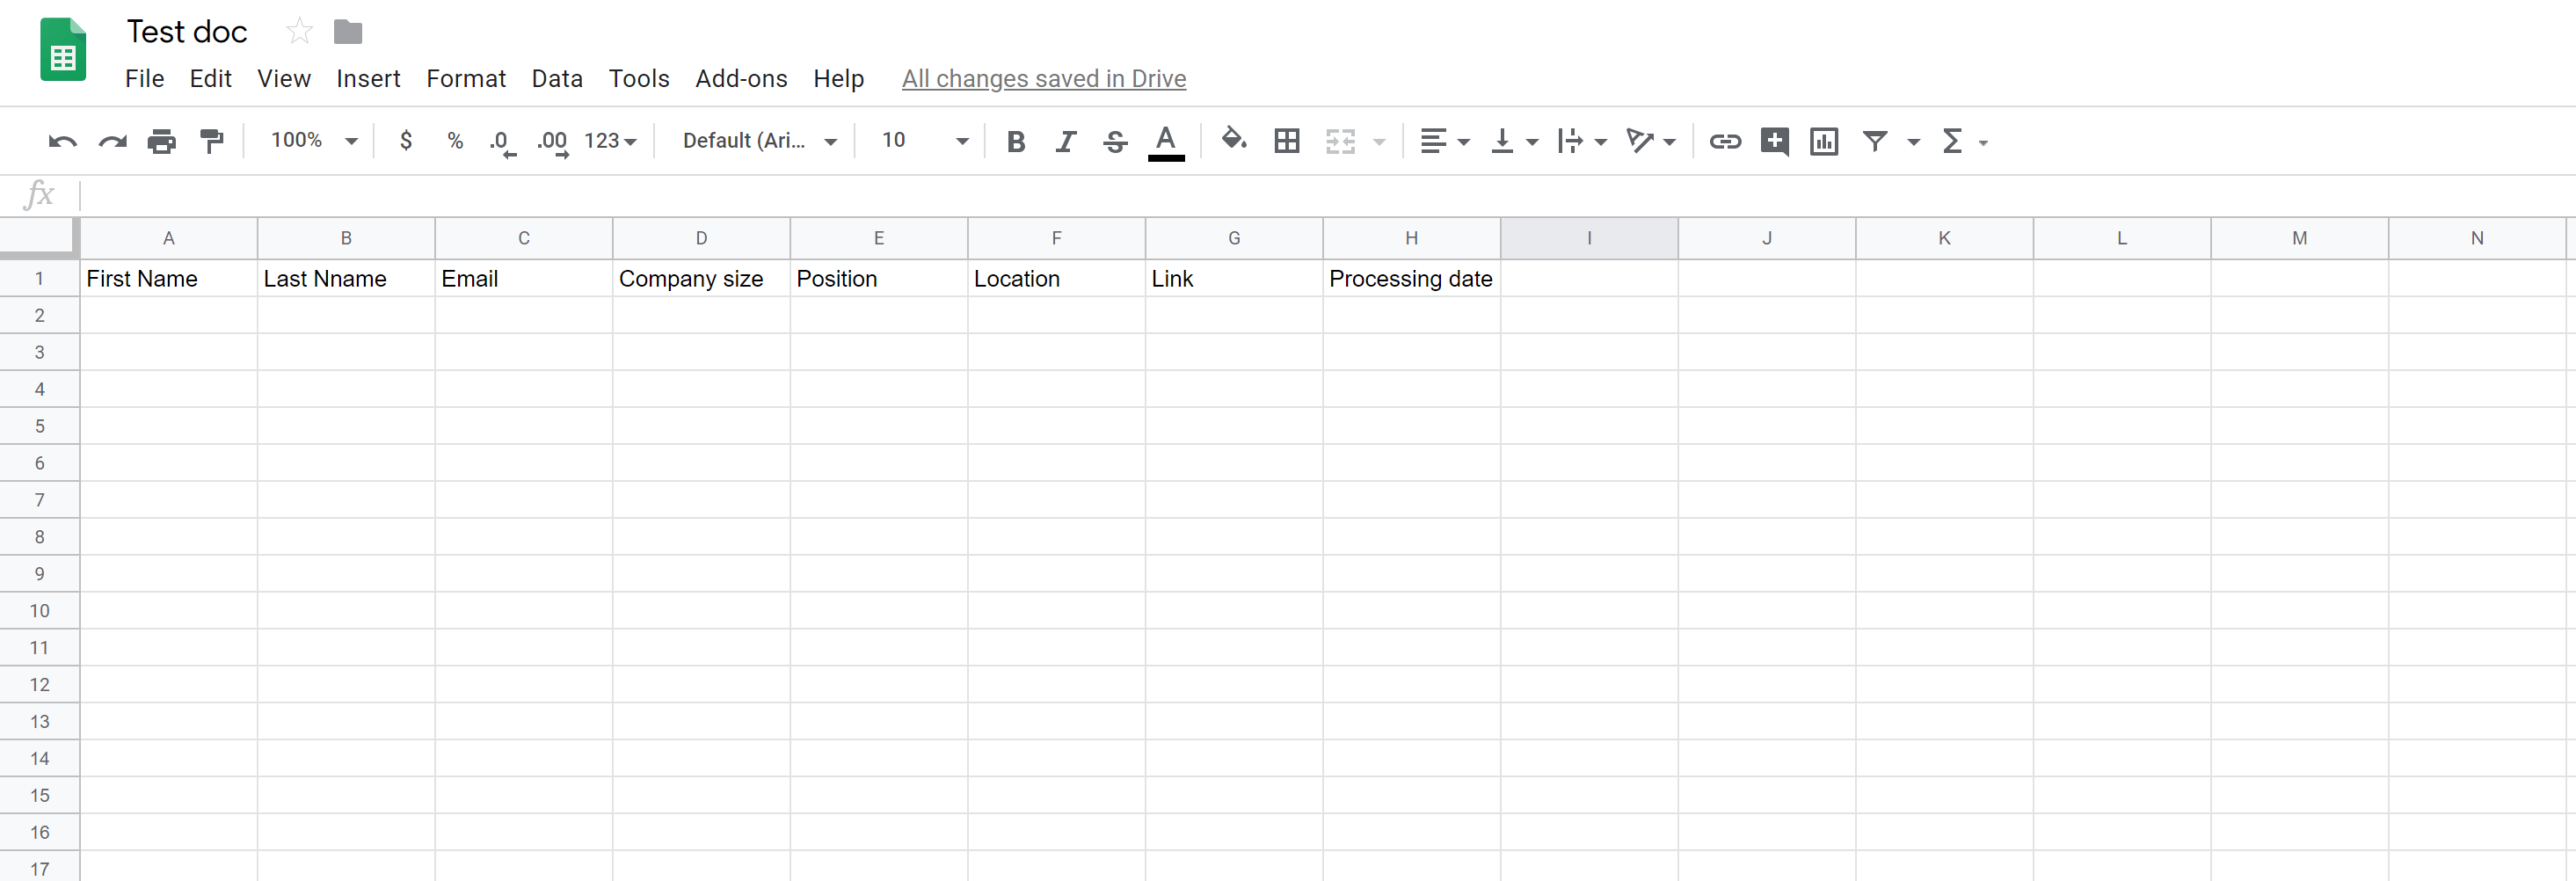
13. Now open a separate tab and go to your Google Drive account. Create a Google Sheet on your Google Drive and enter the needed fields at the top of the spreadsheet:
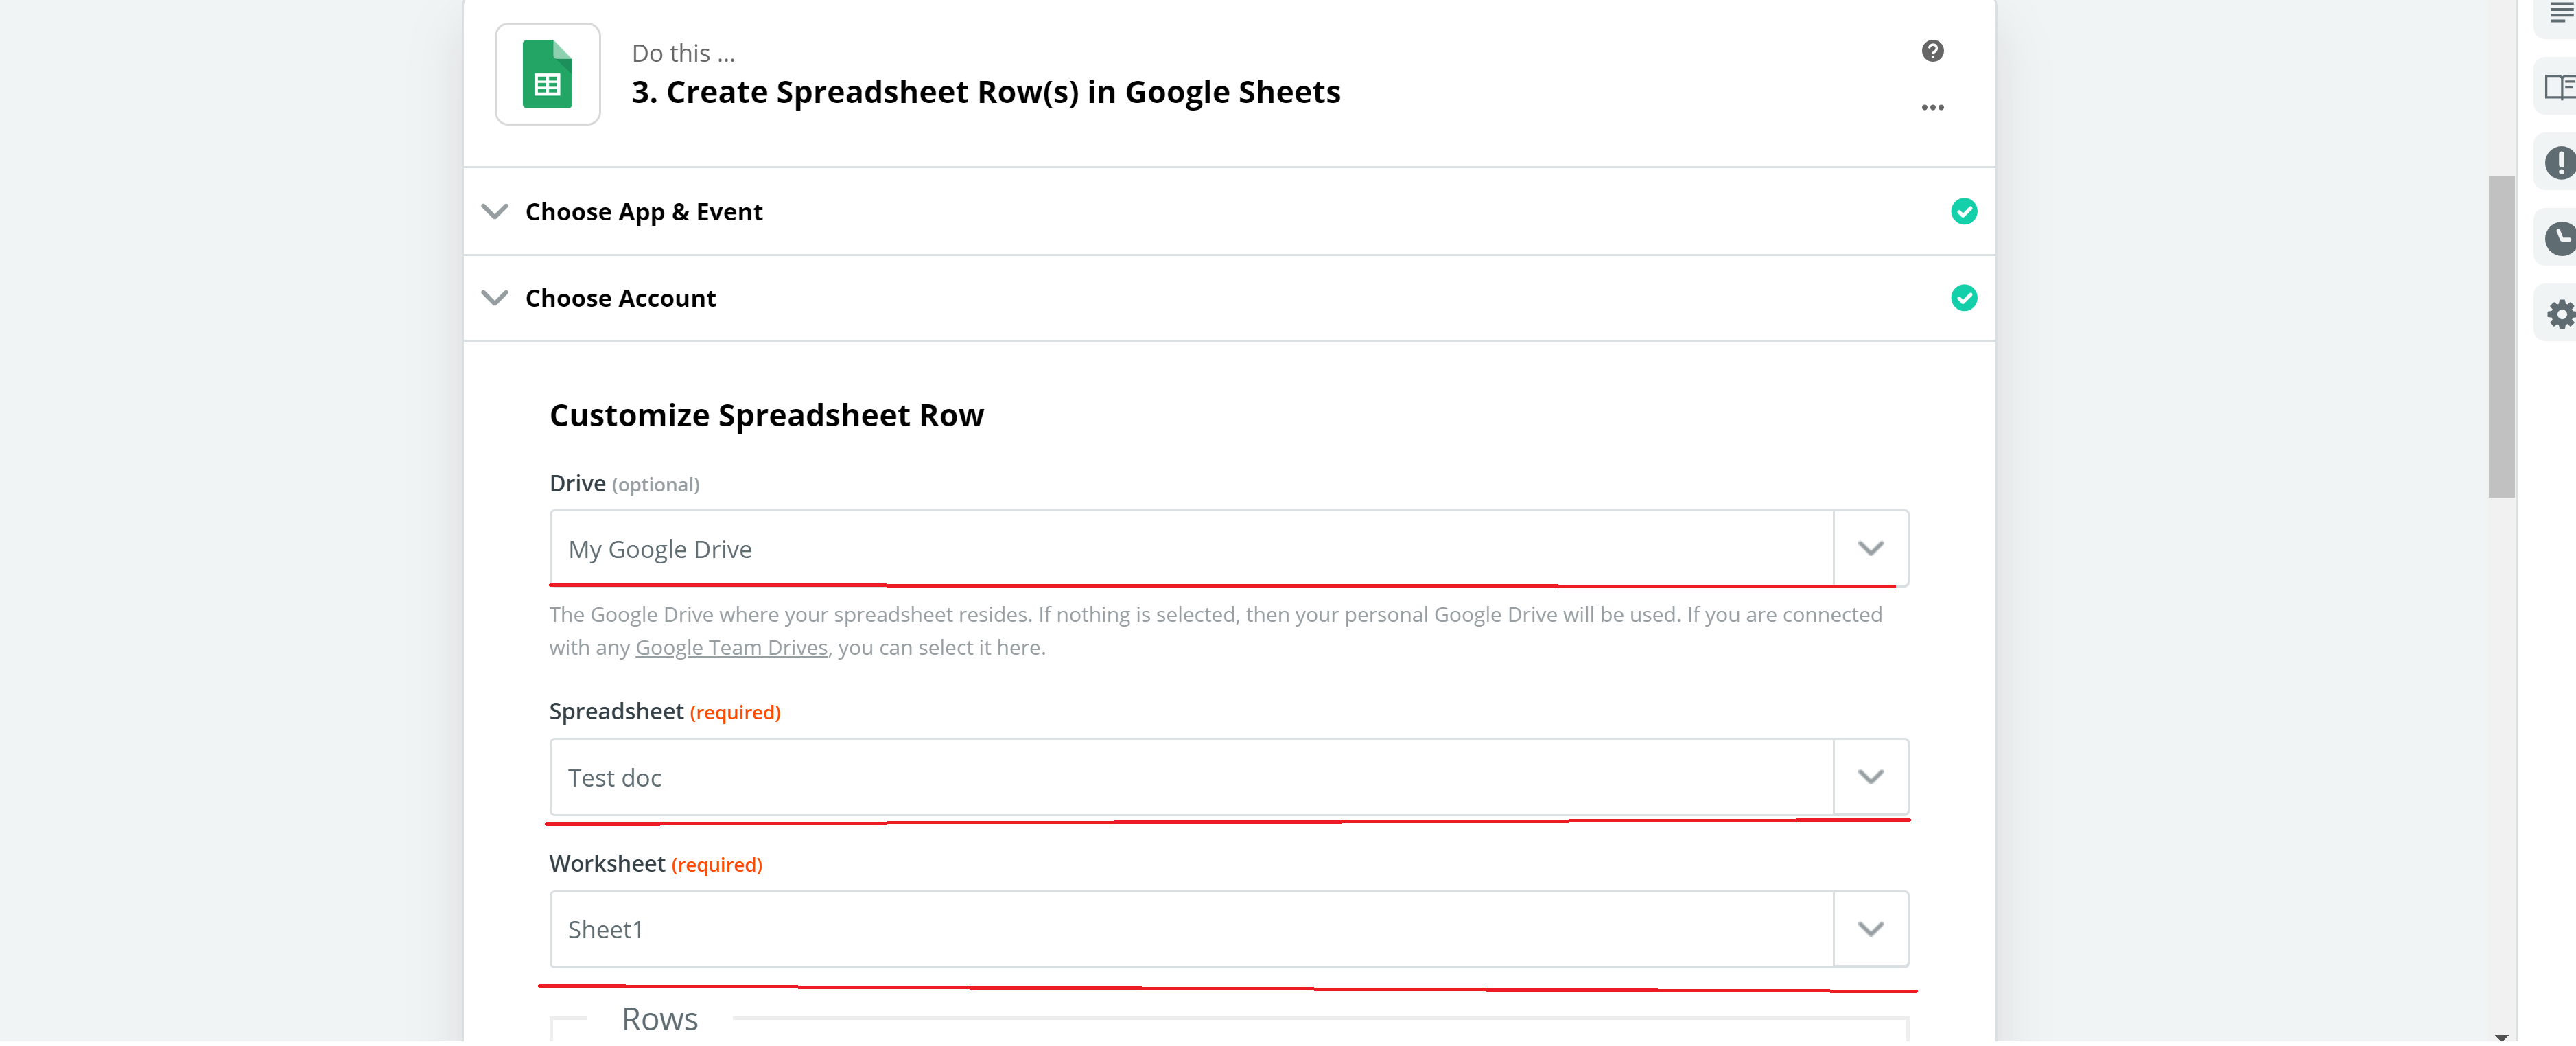
14. Go back to Zapier, choose your google drive account in the “Drive” field, then select your Spreadsheet and the needed worksheet (usually it’s Sheet 1).
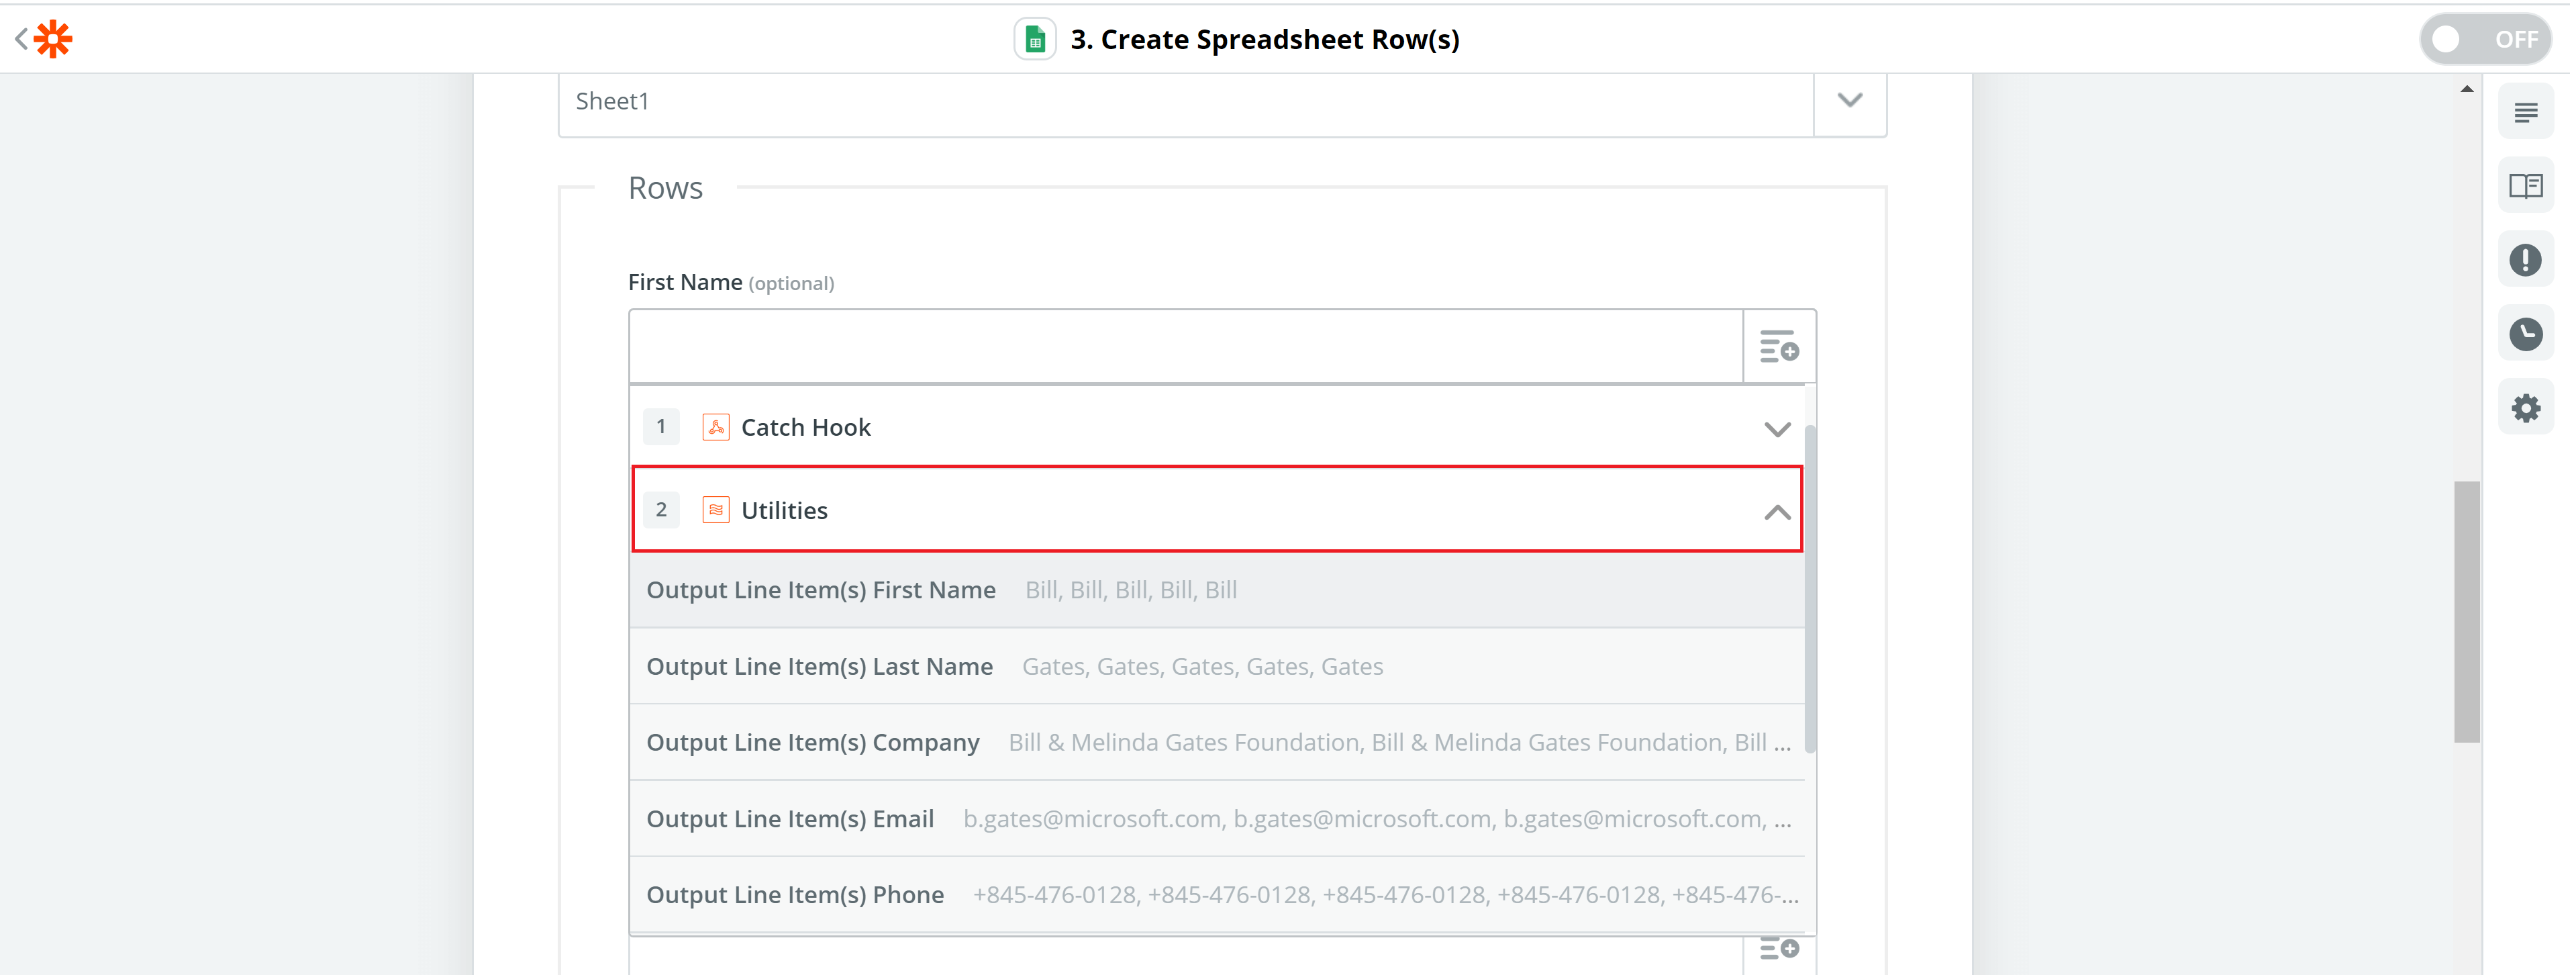
Scroll down and you’ll see the rows from your spreadsheet. You have to click on the icon next to each row -> press “Utilities” and select the correct variable from the drop-down list:
Click “Continue” and “Test and Continue” once all your fields are completed.
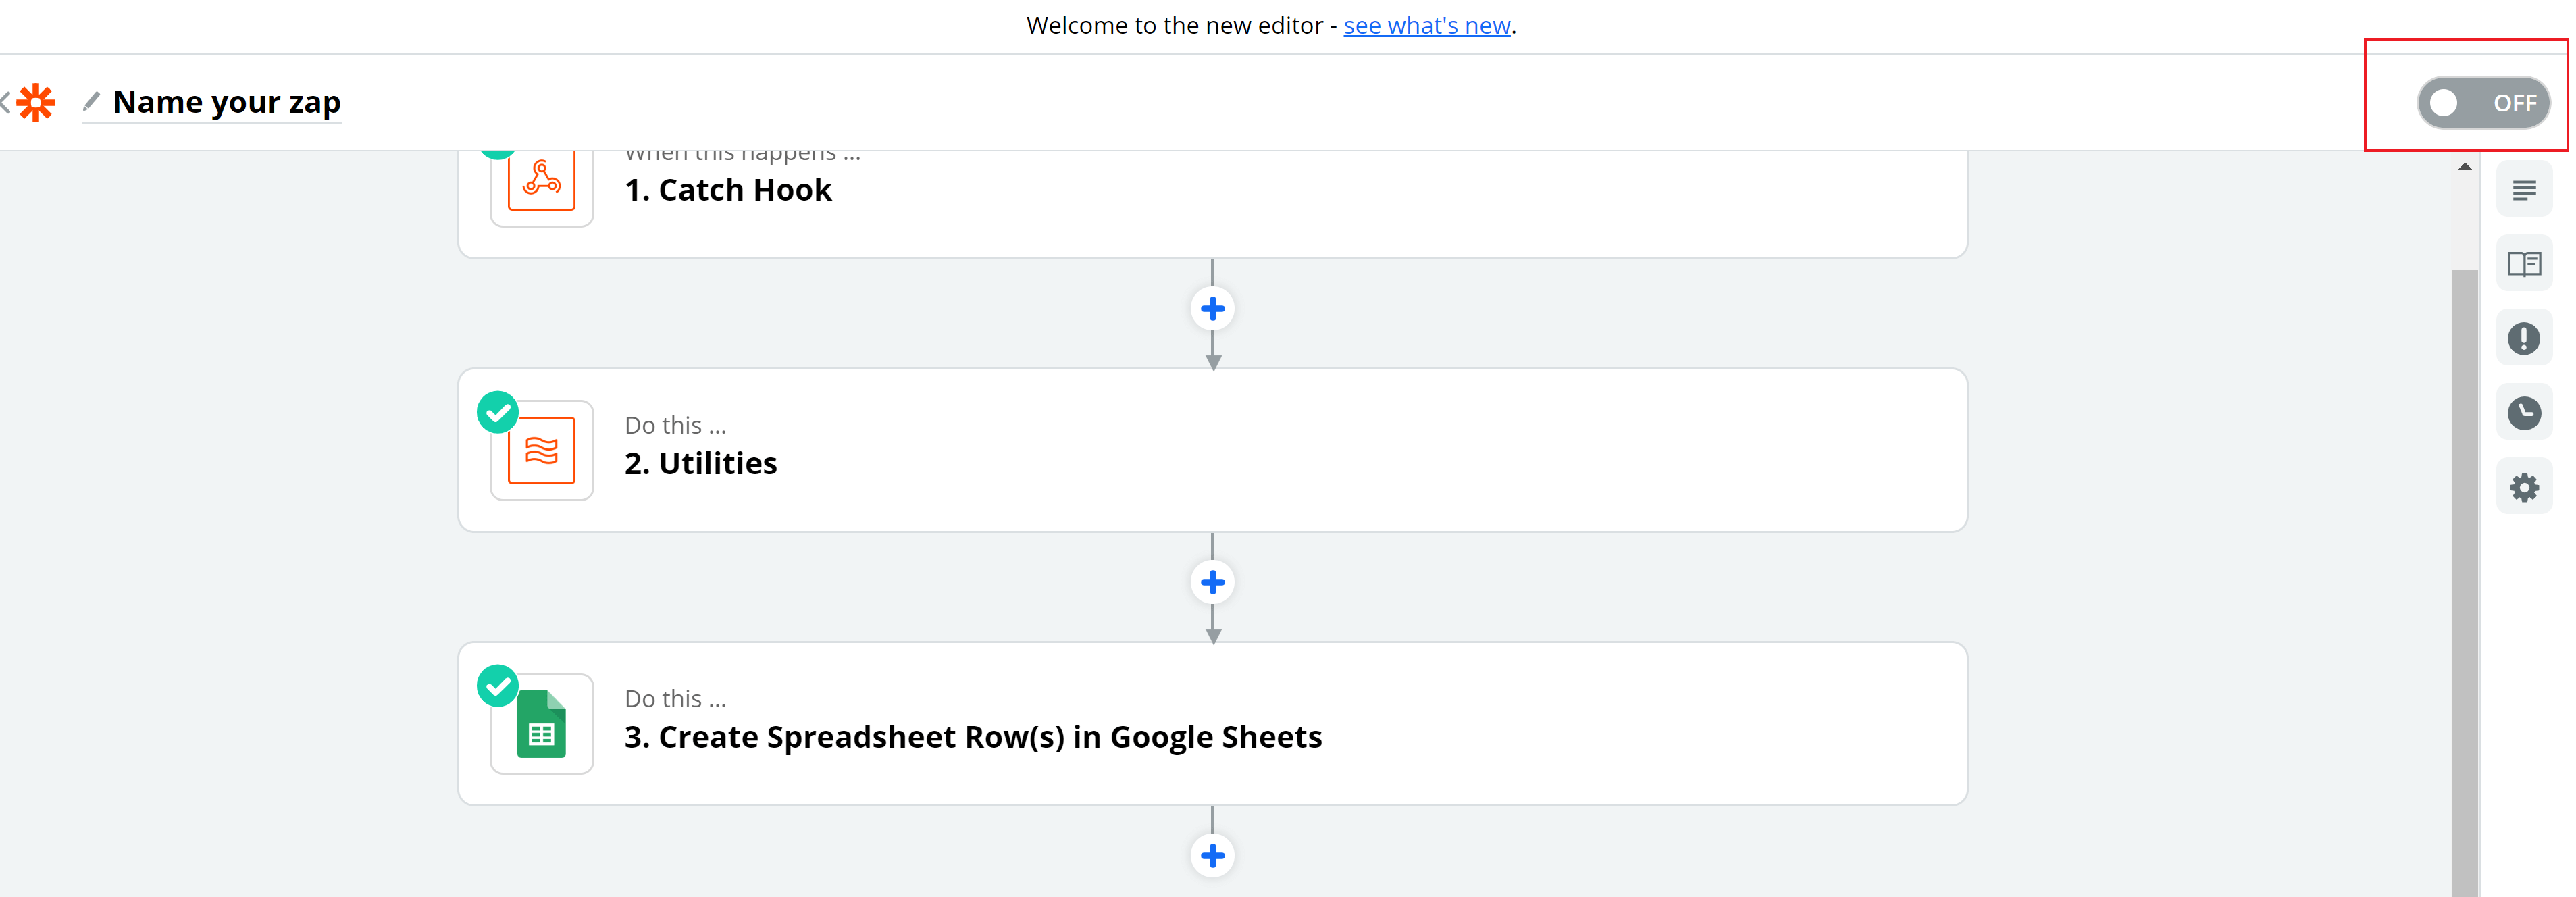
15. You’re almost done! Make sure to turn your zap on, otherwise, it won’t do the magic.
Now go back to Octopus CRM and you’re welcome to launch your campaign.
Reduce your marketing expenses with our new Zapier Batch feature and go rock it on LinkedIn 😉
As always, feel free to give us a shout and reach out to our support team if you have any questions.